
The Wild Dunes project was one of the most beautiful renovations we’ve ever completed. Located in the Wild Dunes Resort community on Isle of Palms, South Carolina, this beautiful property is only about ½ mile from the shore and belongs to one of the nicest resort communities on the Charleston Coast.

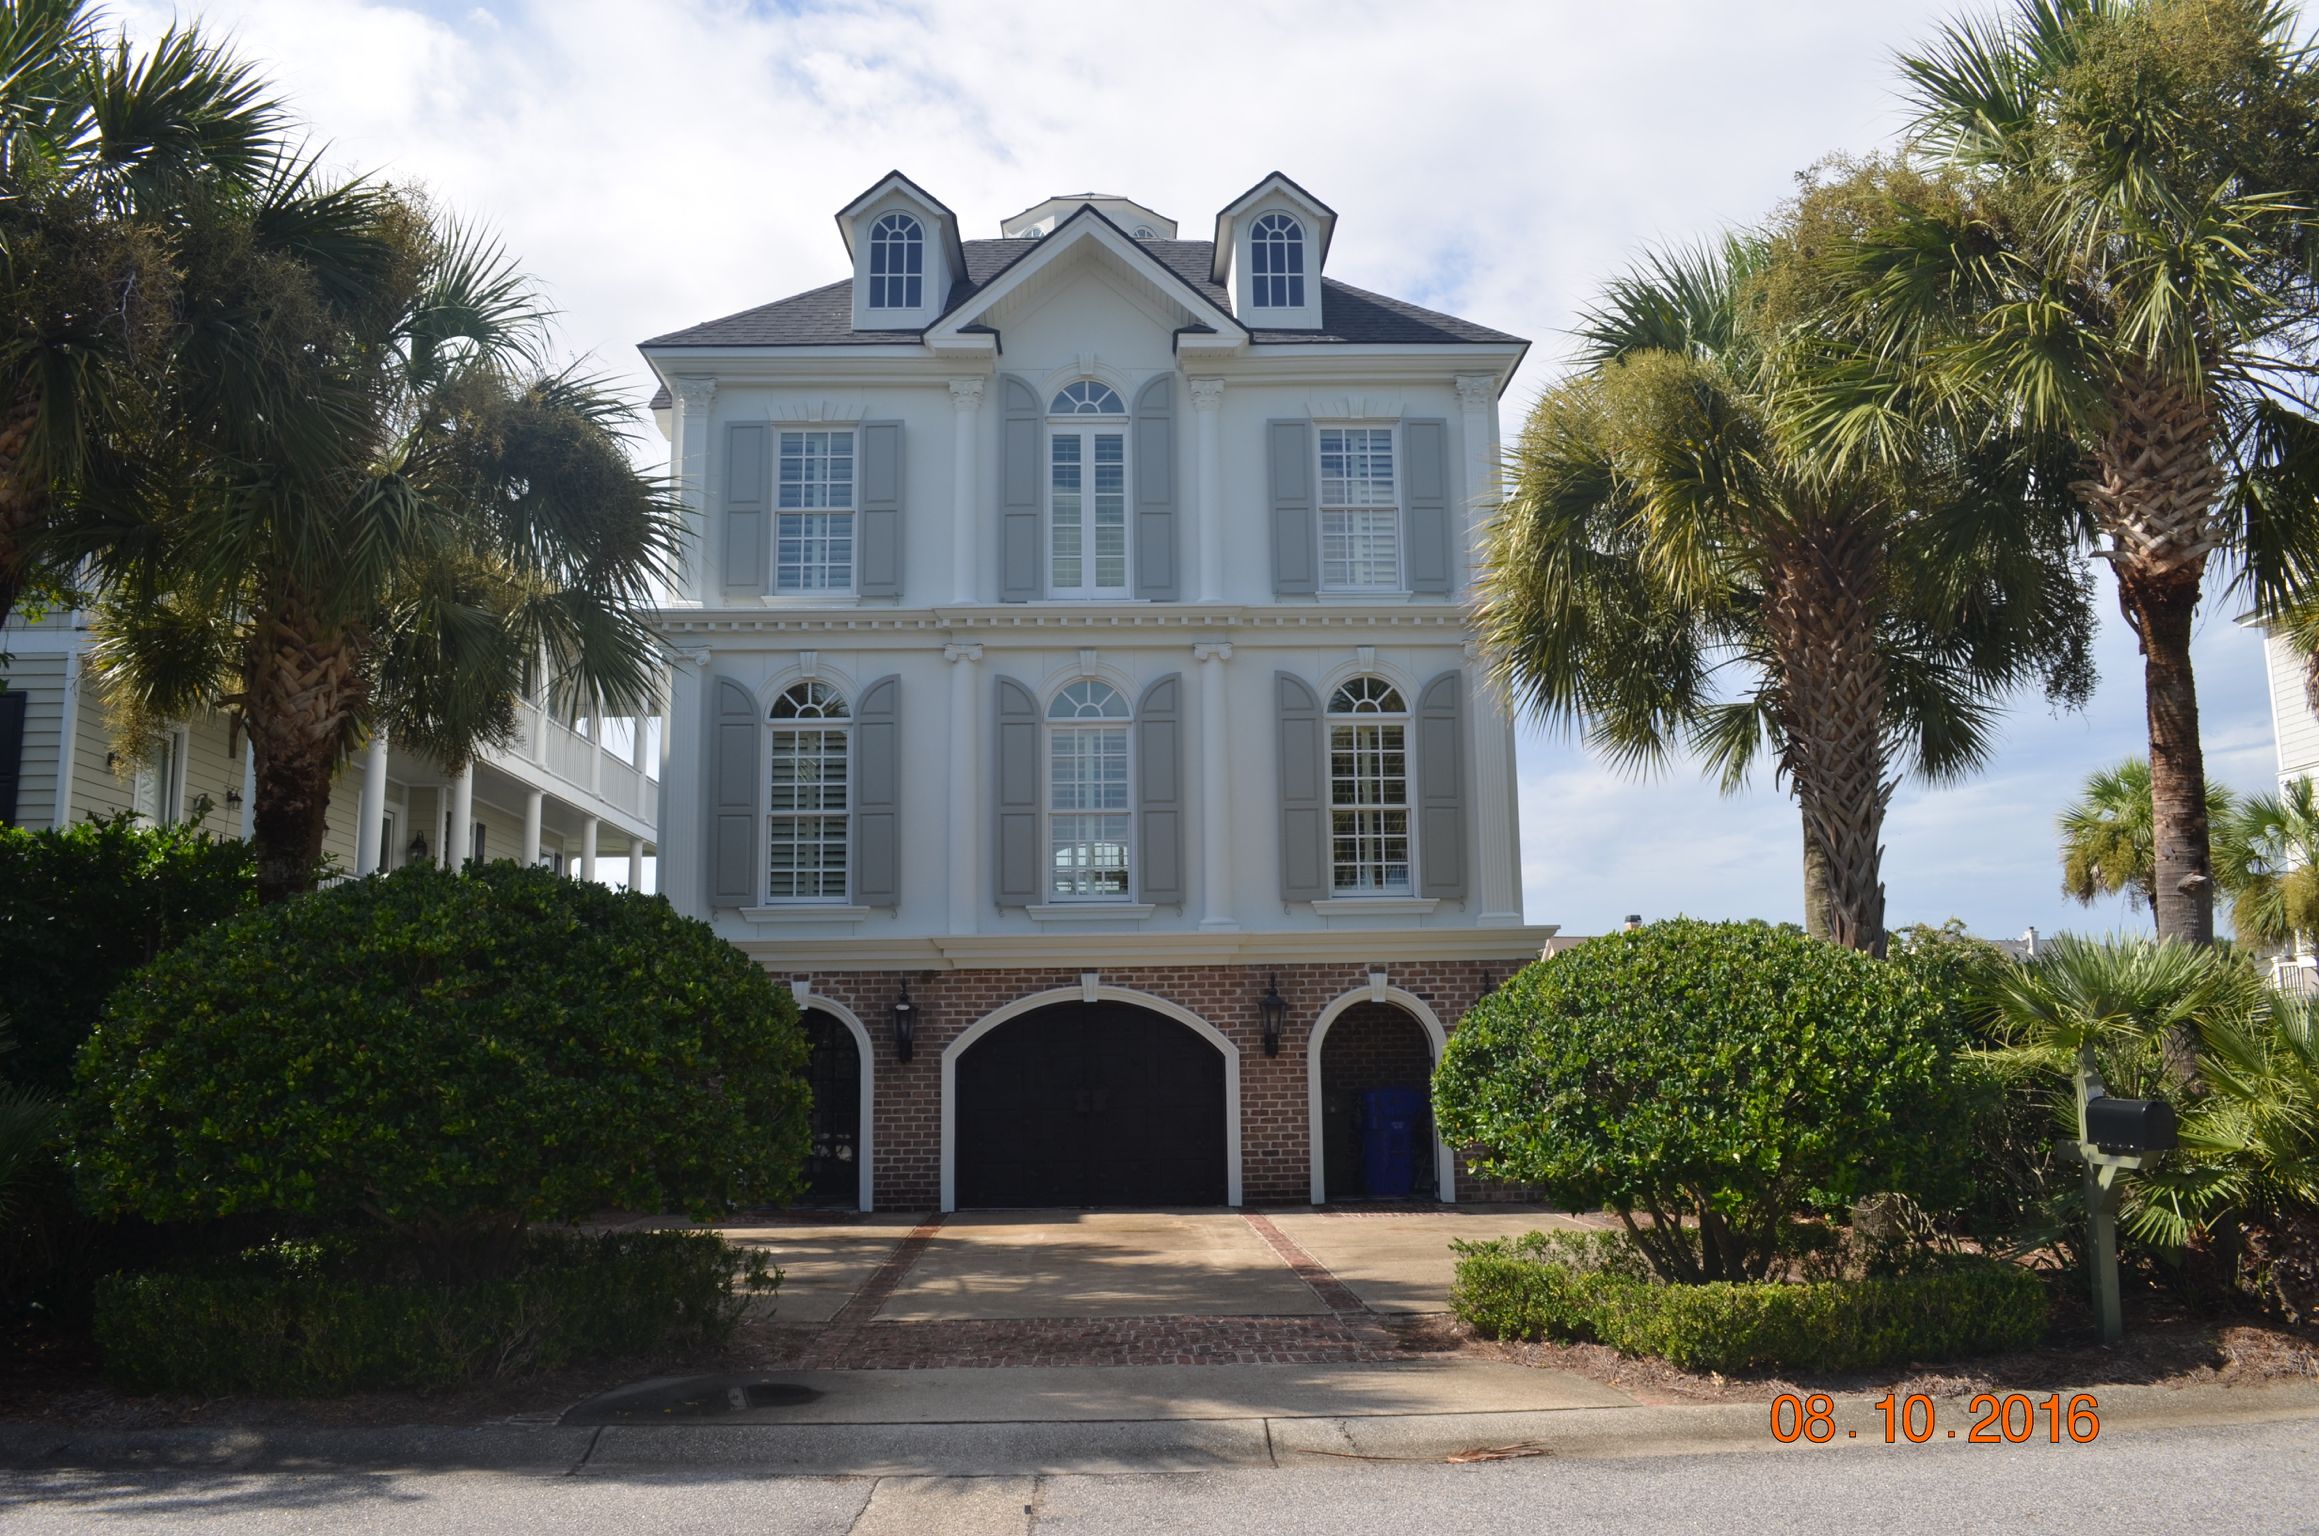
Before – Front of House
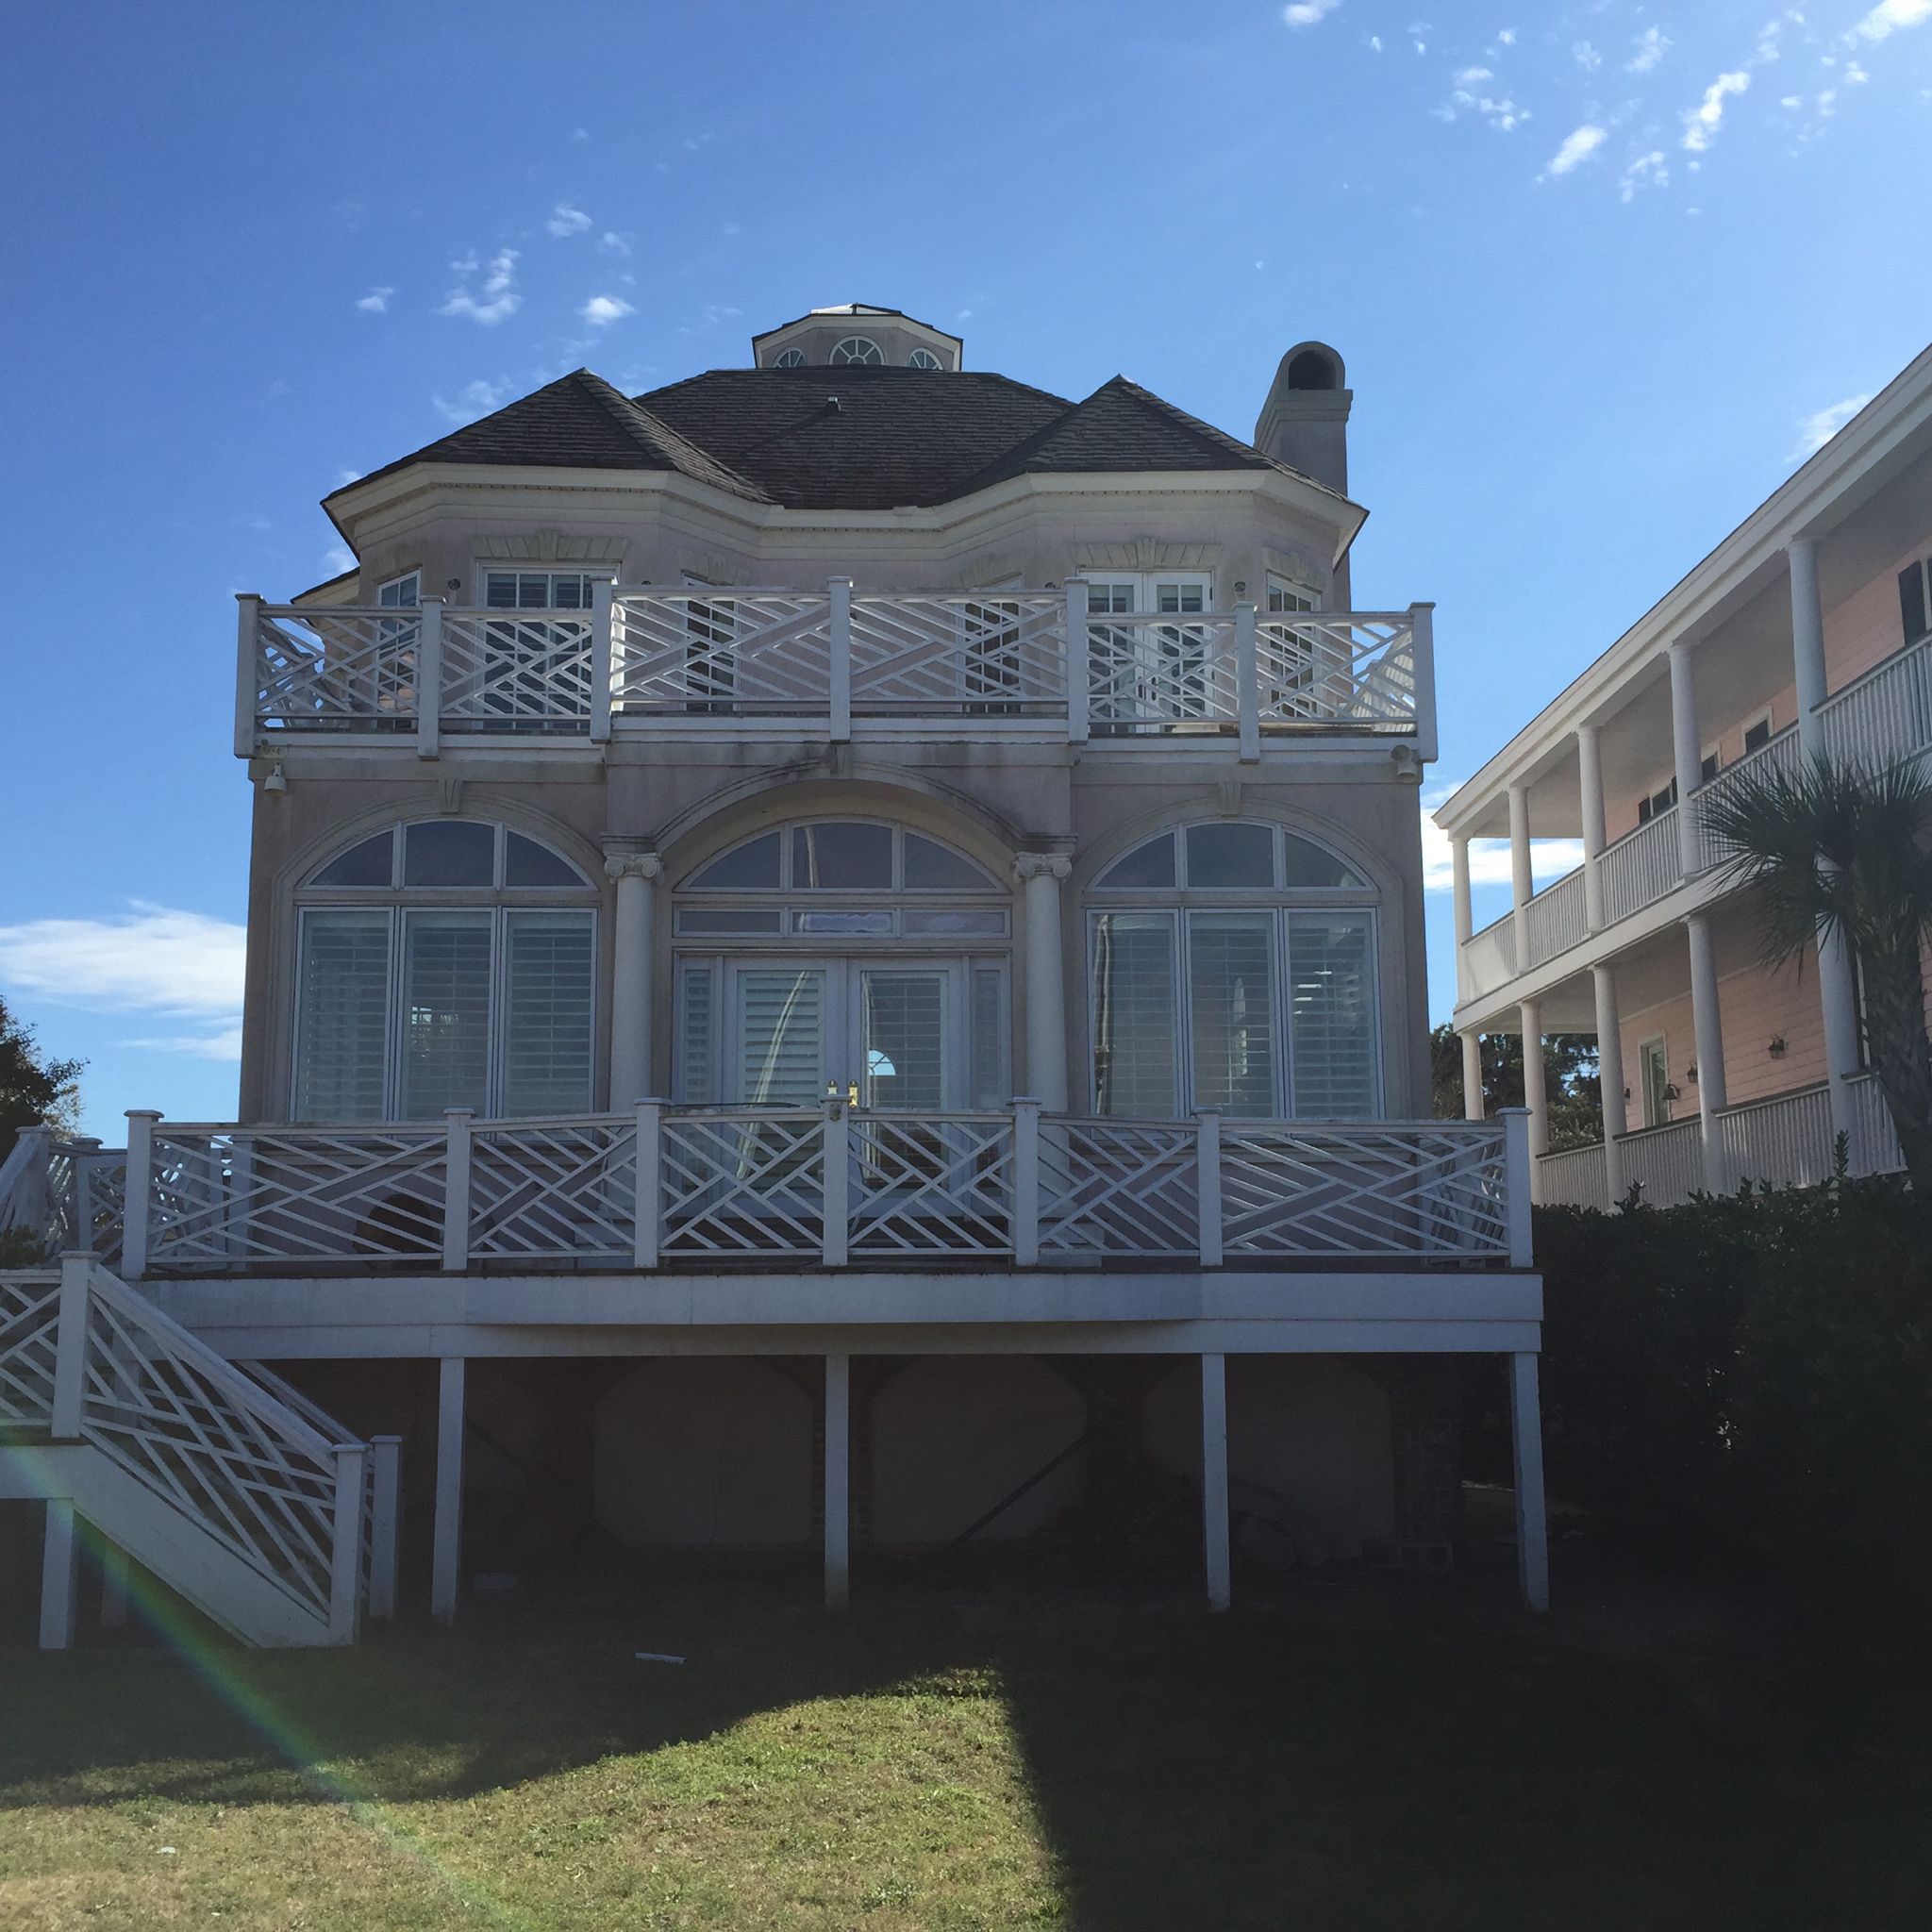
Before – Back of House
After – Front of House

After – Back of House
We started this particular project in January of 2015 and finished construction over the 4th of July weekend the same year.
I purchased the 5-bedroom, 5-bath property at a foreclosure auction at the county courthouse and knew from the get-go that it would be a major renovation project; the house had been vacant for about three years and was in dire need of a remodel. As soon as it was purchased, we immediately went to work on the interior.
Just like those shows you see on TV, after we purchase a house, the next step is to really identify what work needs to be done. While we have a basic understanding of most properties going in, you never really know all of the work that needs to be done until you have a chance to go in and look around for yourself. Whenever I do an upper end project like this one, the first thing I do is take all of the mechanical aspects of the house — like the HVAC system, hot water heaters, etc. — and replace them all with new, better working models. This property had three different HVAC systems to replace, as well as a tankless hot water heater. Once these were replaced, in order to make the property more energy efficient, we replaced all of the can lights (or floodlights) with LED cans which use much less electricity.
As soon as our building blocks were laid, we began working on the rest of the home. When this particular property was foreclosed, the owners were right in the middle of a major renovation to the kitchen and to the bathroom, so when we bought it, the kitchen and bathroom looked like a tornado had gone through. So this was where we started our work.
Kitchen
In the kitchen, it was pretty apparent that we couldn’t just pick up where the previous owners had left off, so our only option was to gut the room and start from scratch. While sometimes I will tackle the contracting myself, for this job we decided to hire a general contractor to oversee the project. As with most of my project, I worked with a number of trade specialists as well to assist with specific jobs. For the kitchen, after we had removed the old cabinets and taken down the circular columns, we brought in a cabinet company to install new cupboards. Then we really went to work. We placed a marble countertop in the kitchen and installed all top-shelf appliances throughout, redoing the columns, as well, and completely replacing the lighting and the plumbing. The doors and windows in the room worked and looked fine, so we were able to keep both in the renovation. As a final touch, we added a walk-in Butler’s pantry in the back of the kitchen, complete with a wine cooler.
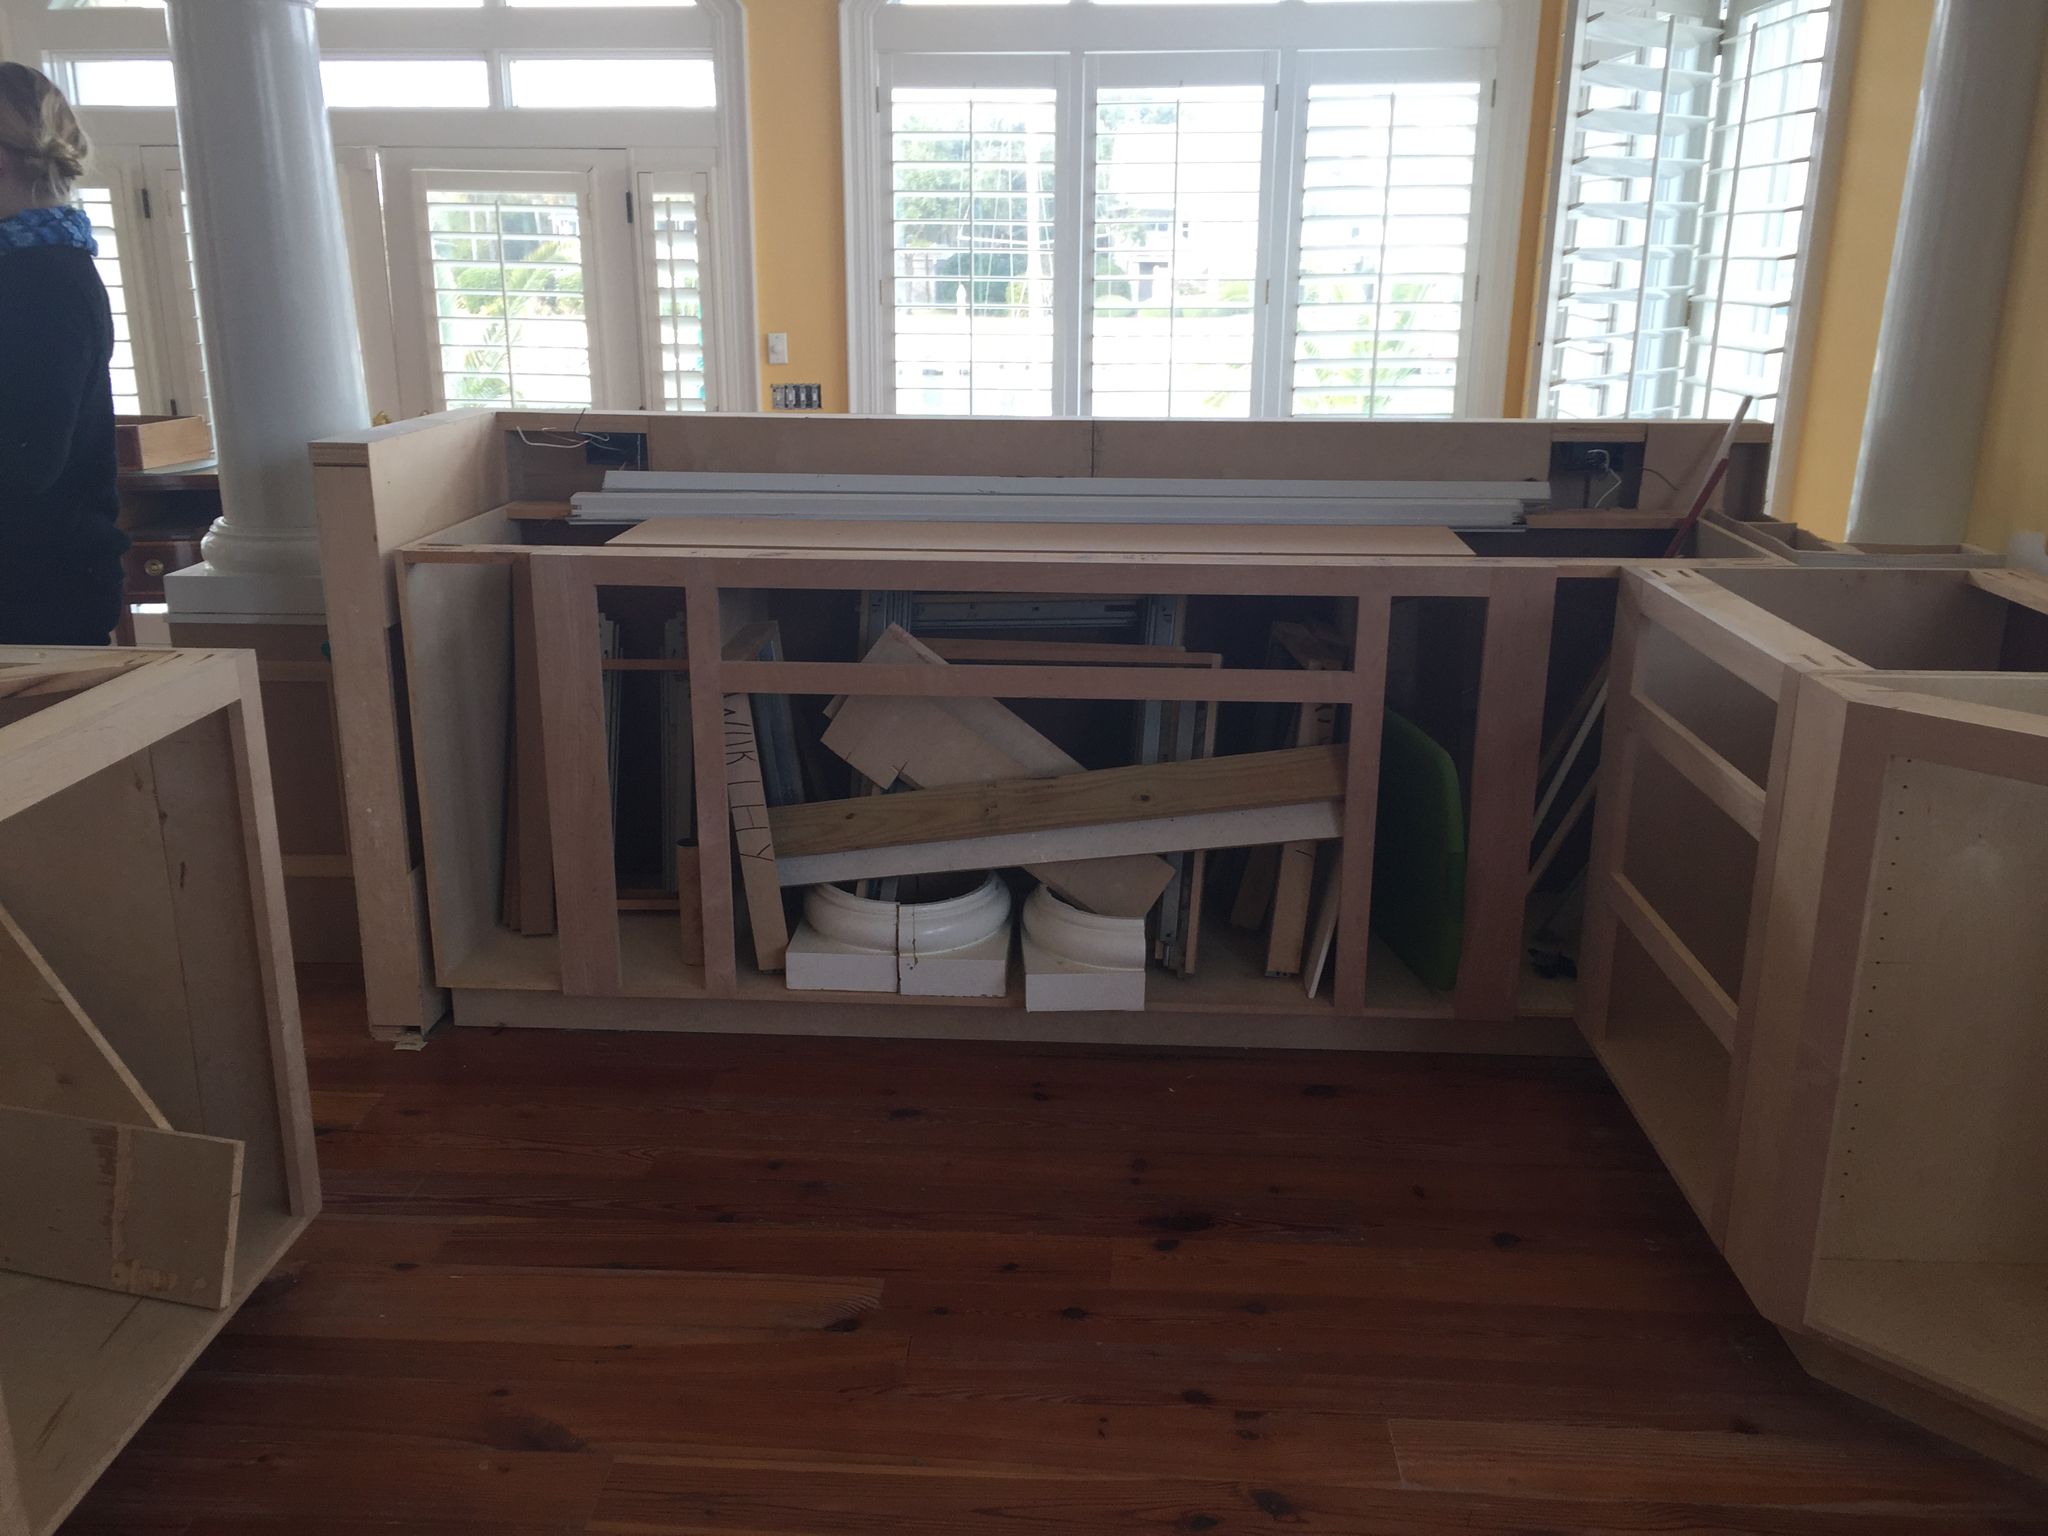
Before – Kitchen
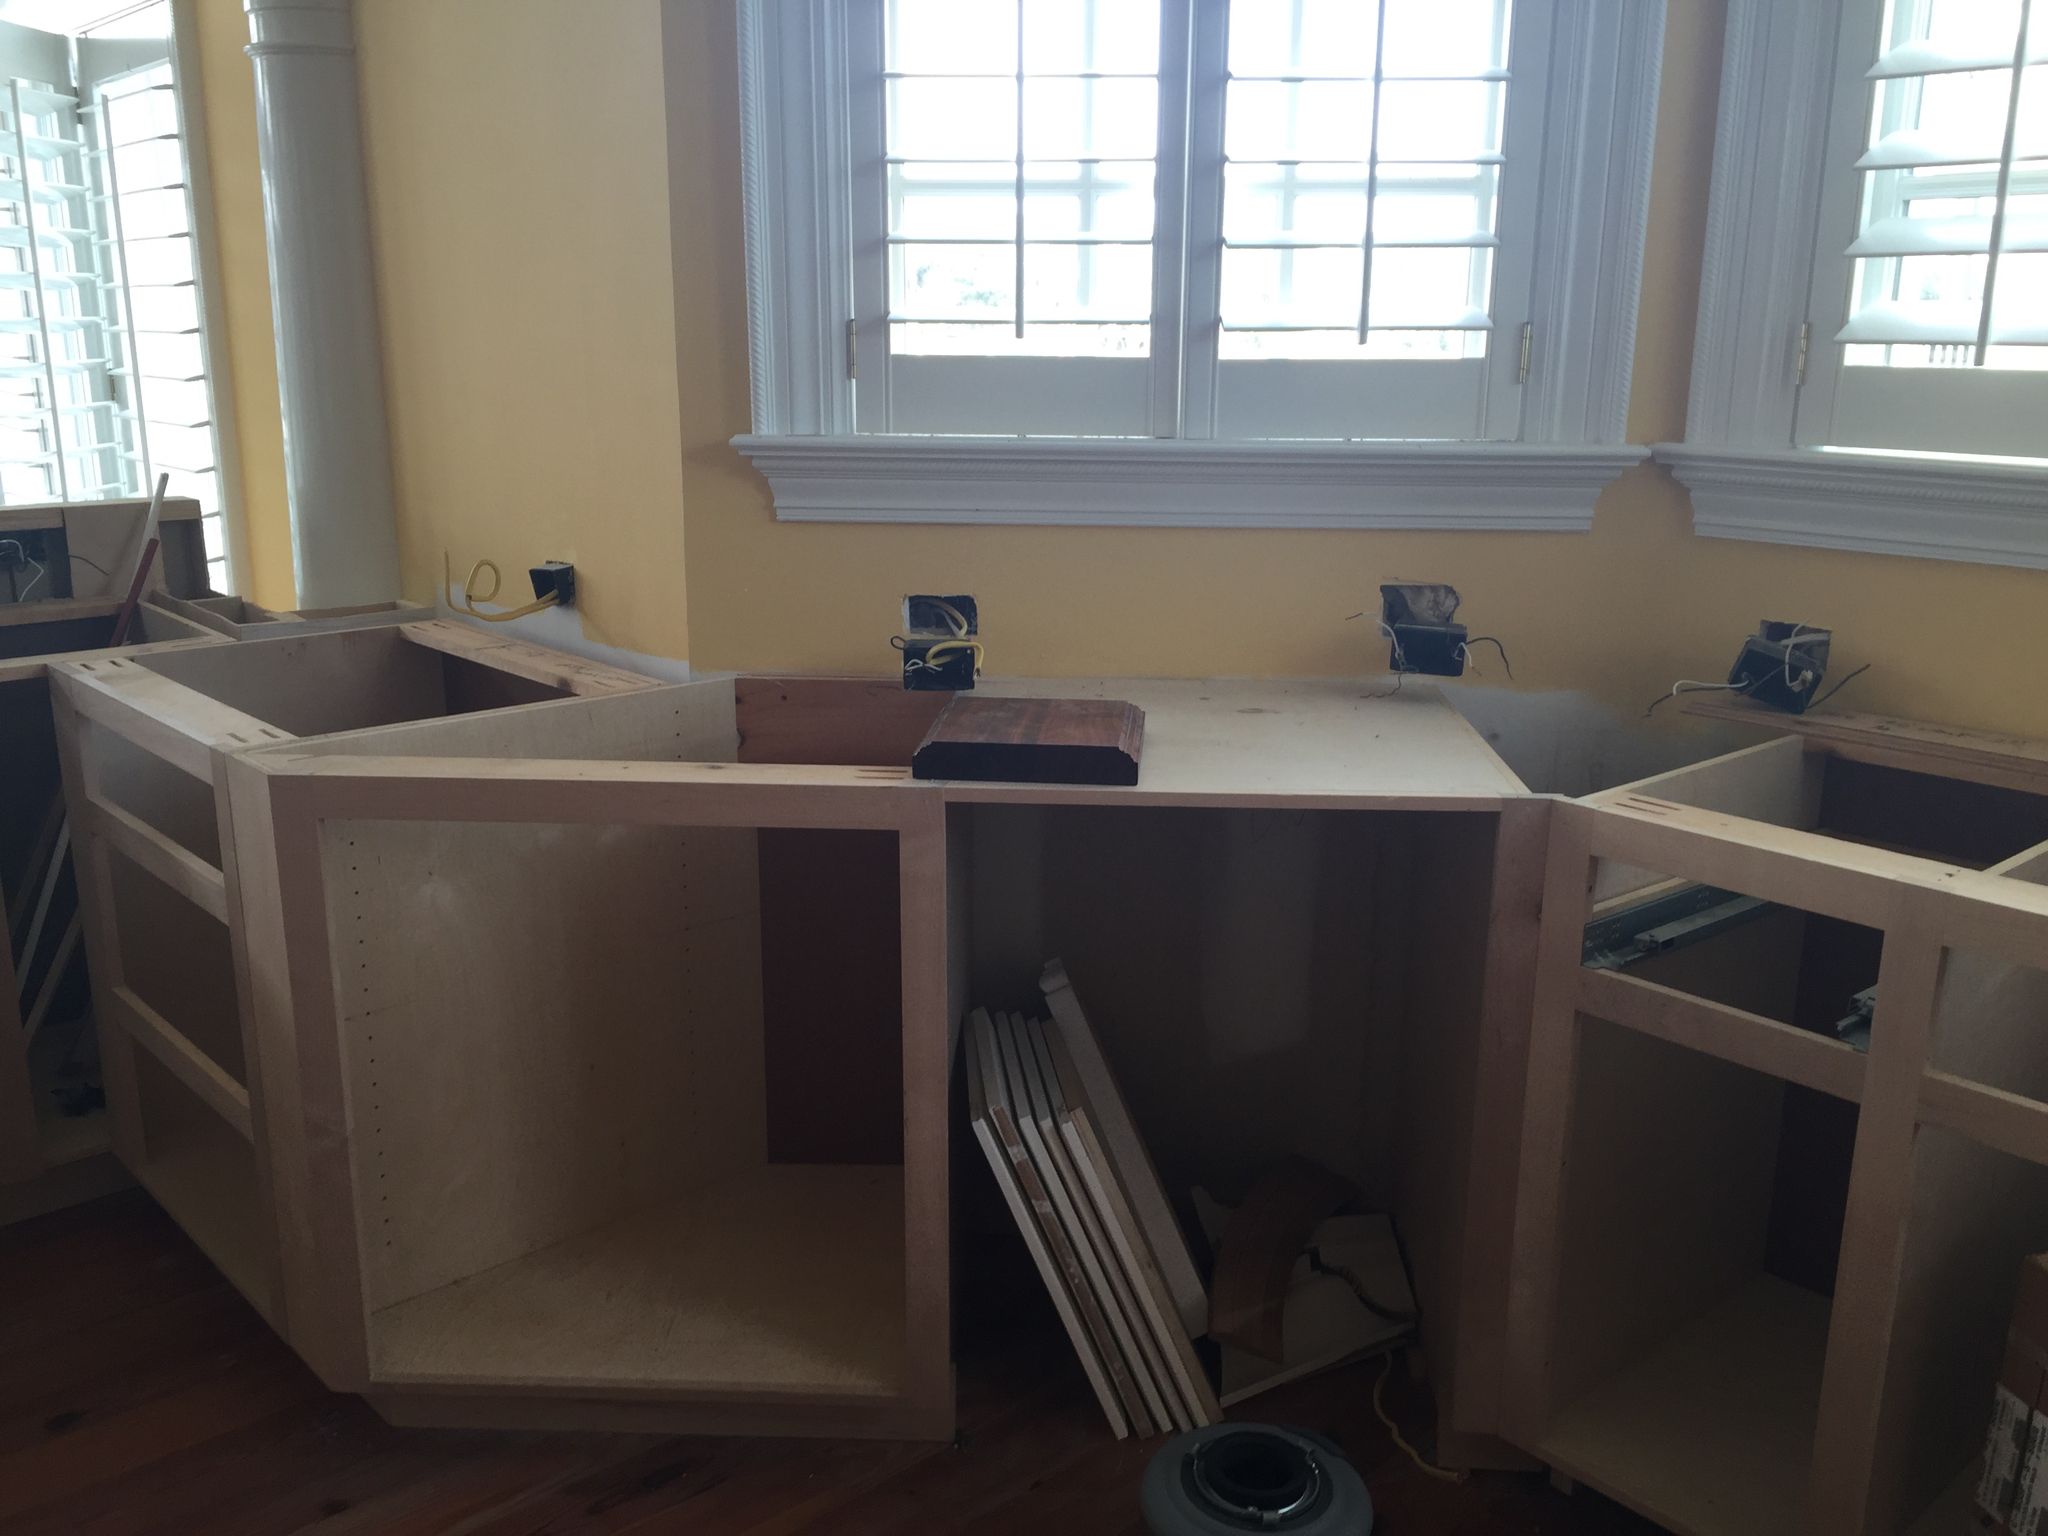
Before – Kitchen
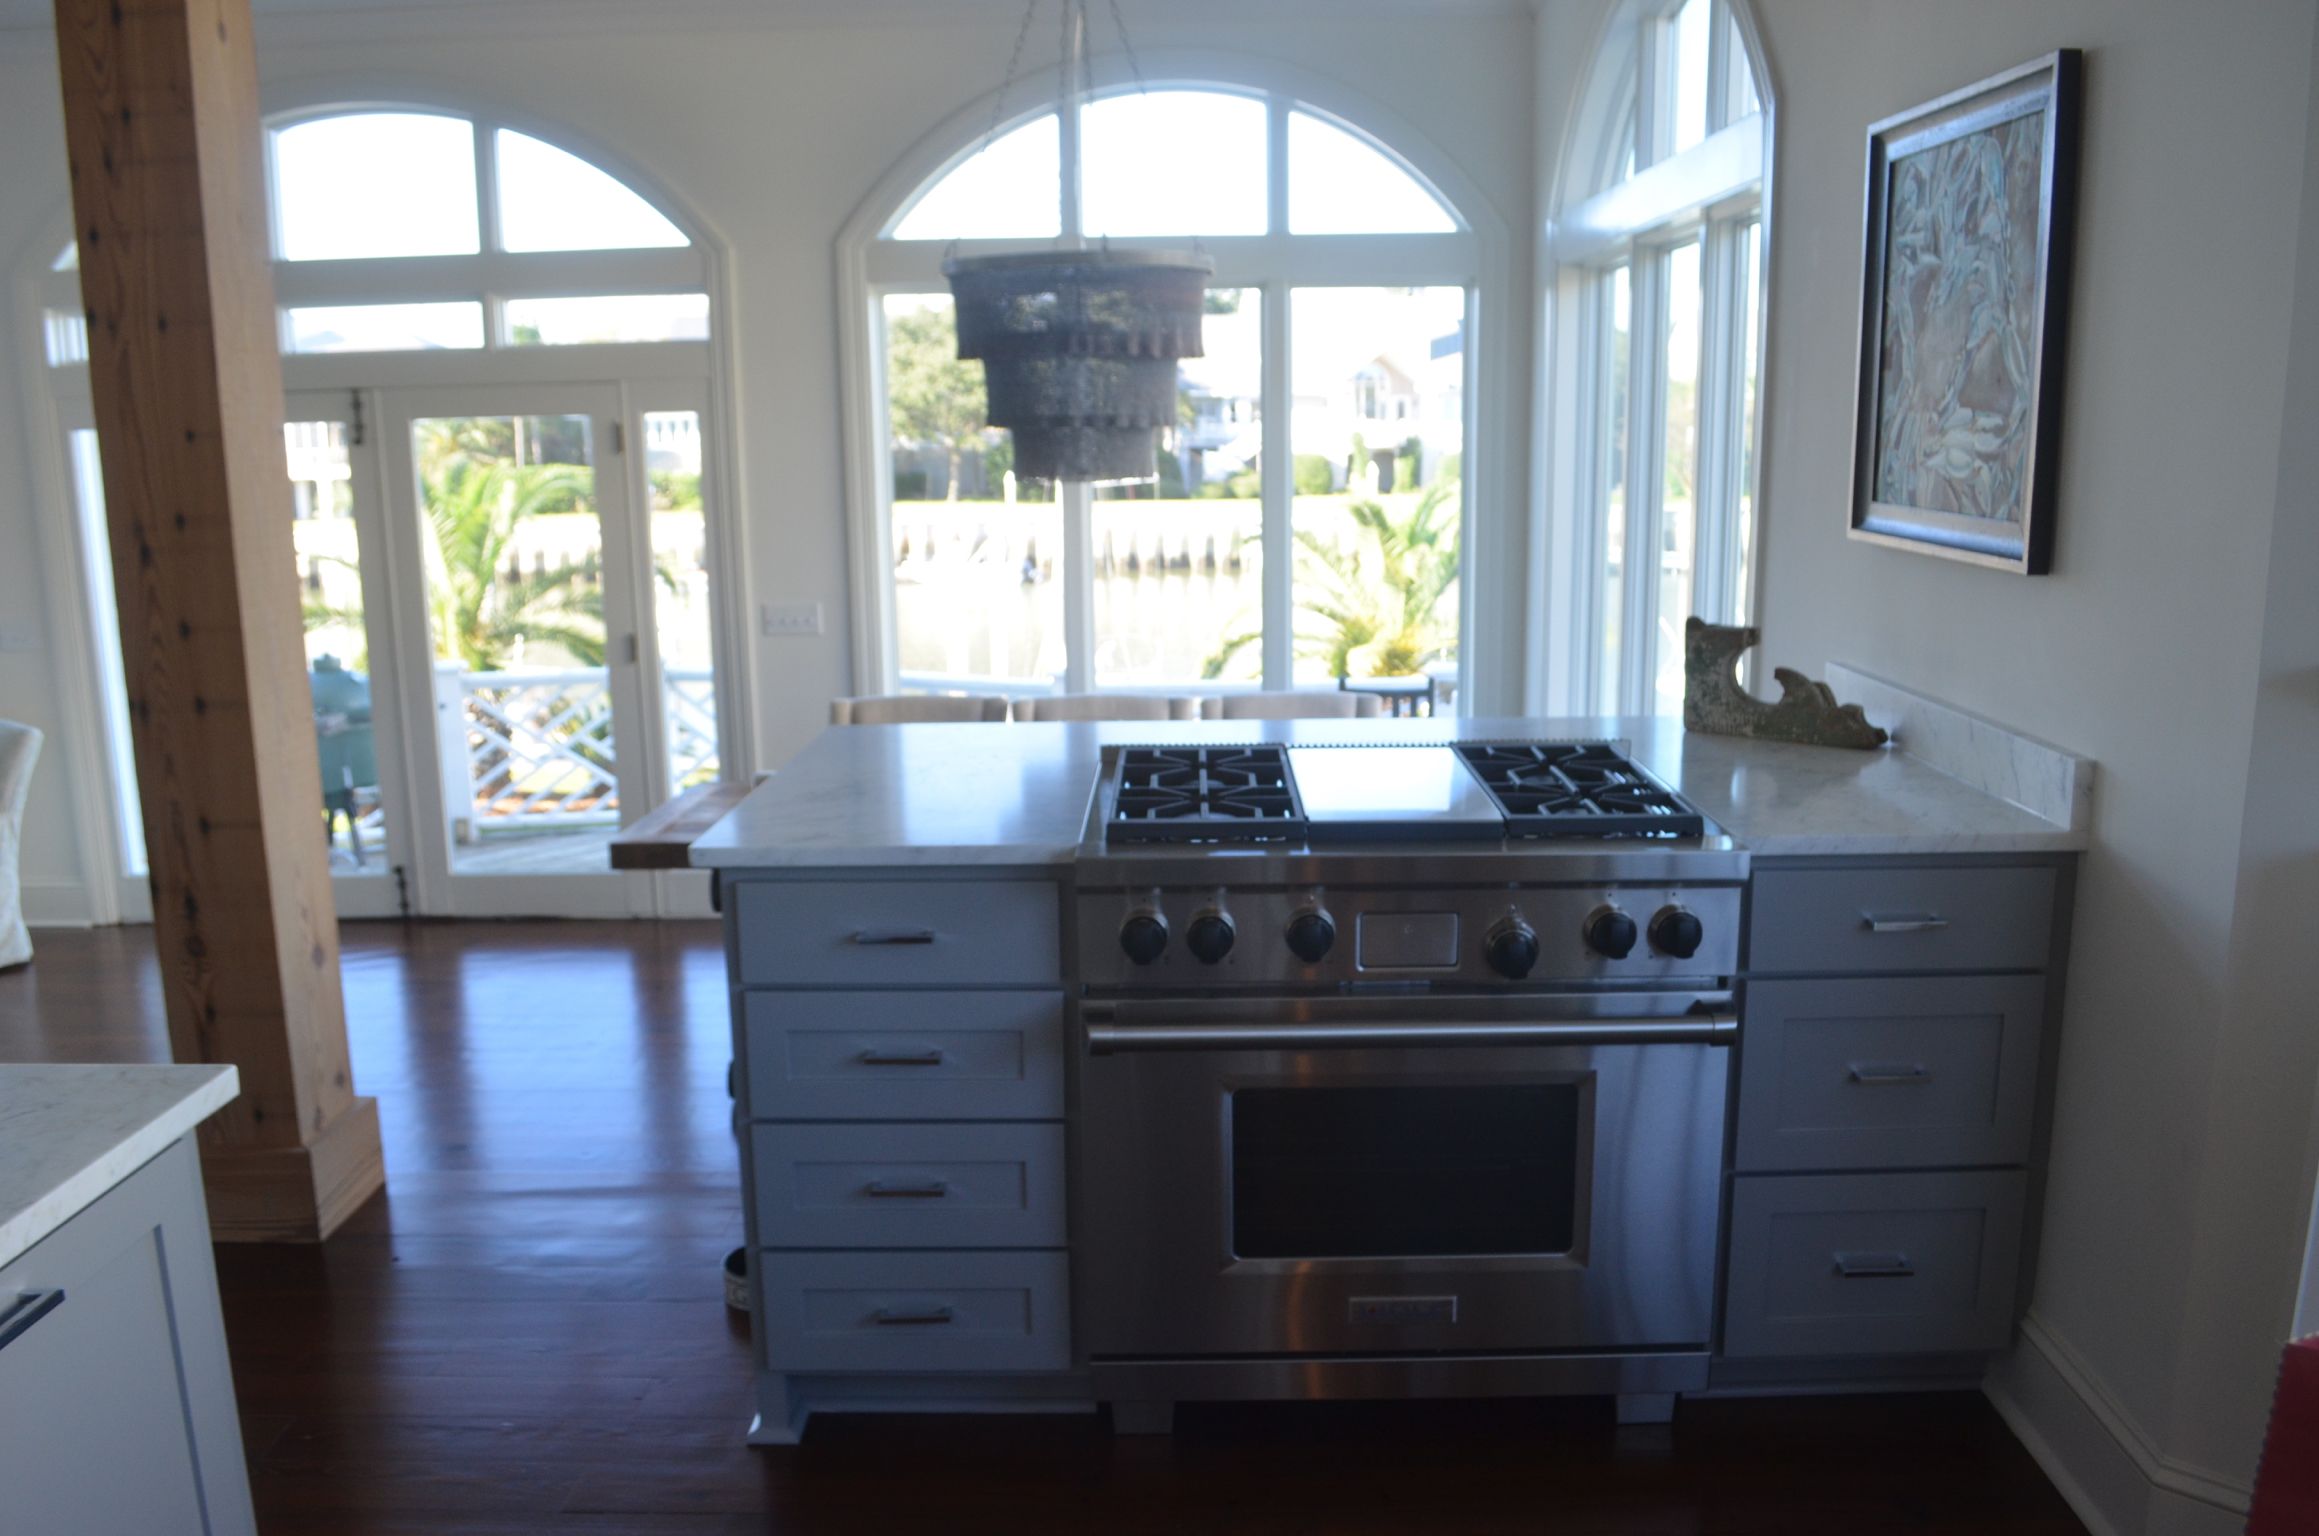
After – Kitchen
Bathroom
The master bath was the other area that was undergoing renovation when the house was foreclosed, and the whole master suite was kind of chaotic. There was no master closet in the bedroom, and instead of a master bath, there was a tiny room with a toilet, sink, and shower. We decided to take the entire suite back to the studs so we could figure out a way to have both a master bath and a sizeable master bedroom with a closet. We ended up breaking down one of the walls in the suite so we could turn the area into a large master closet.
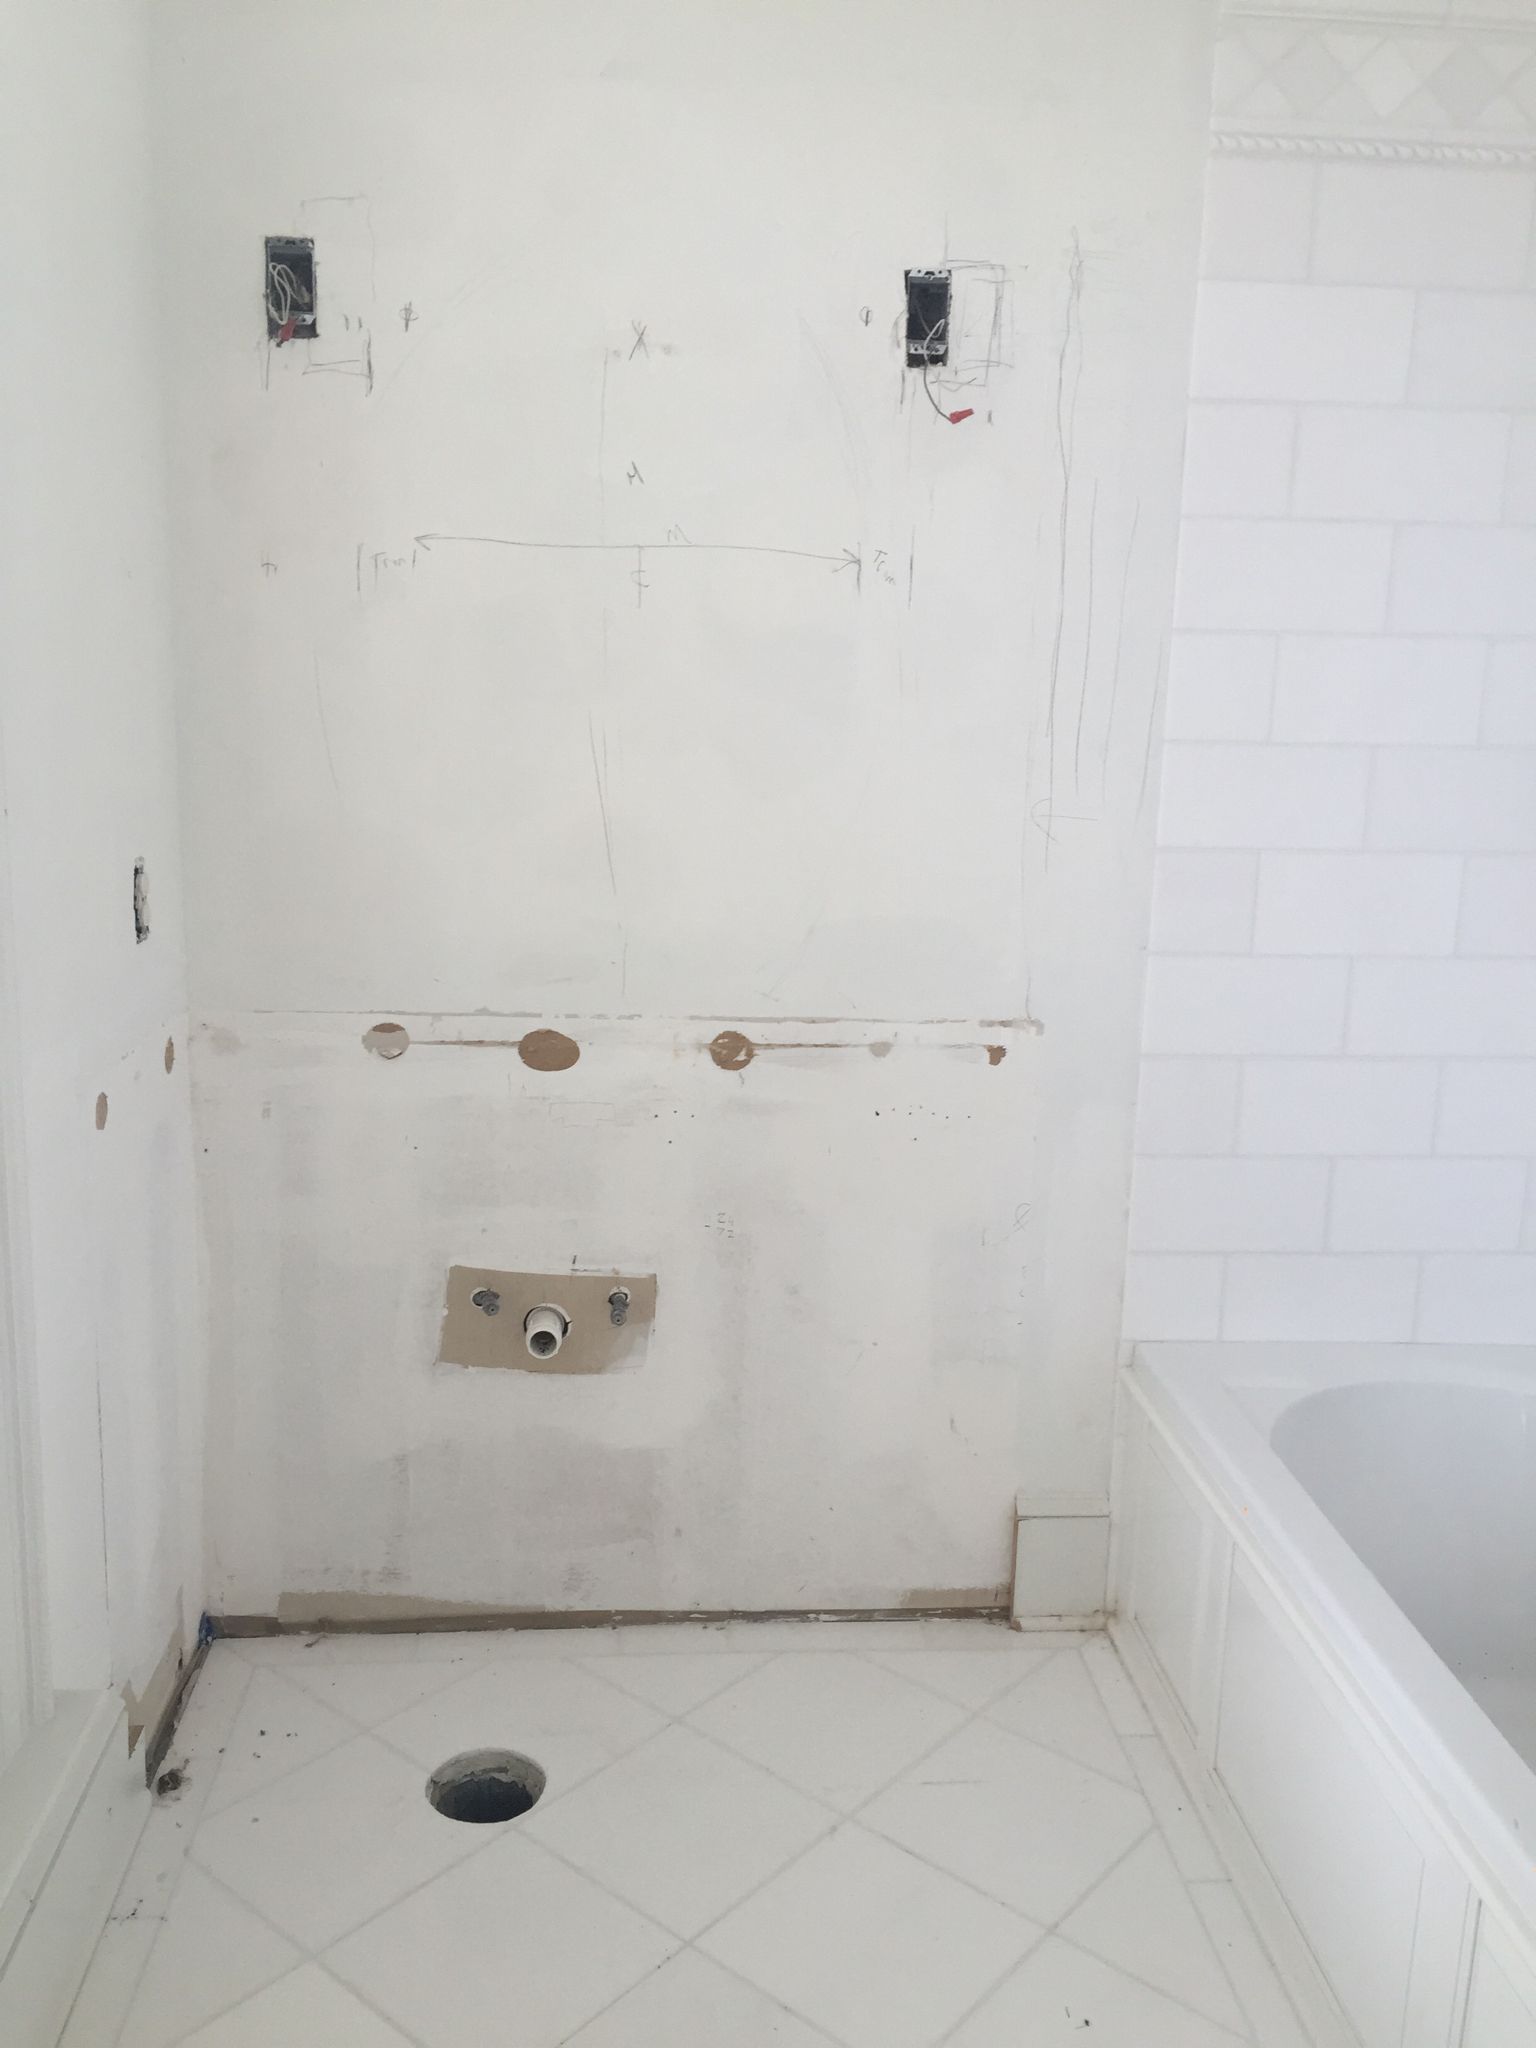
Before – Bathroom
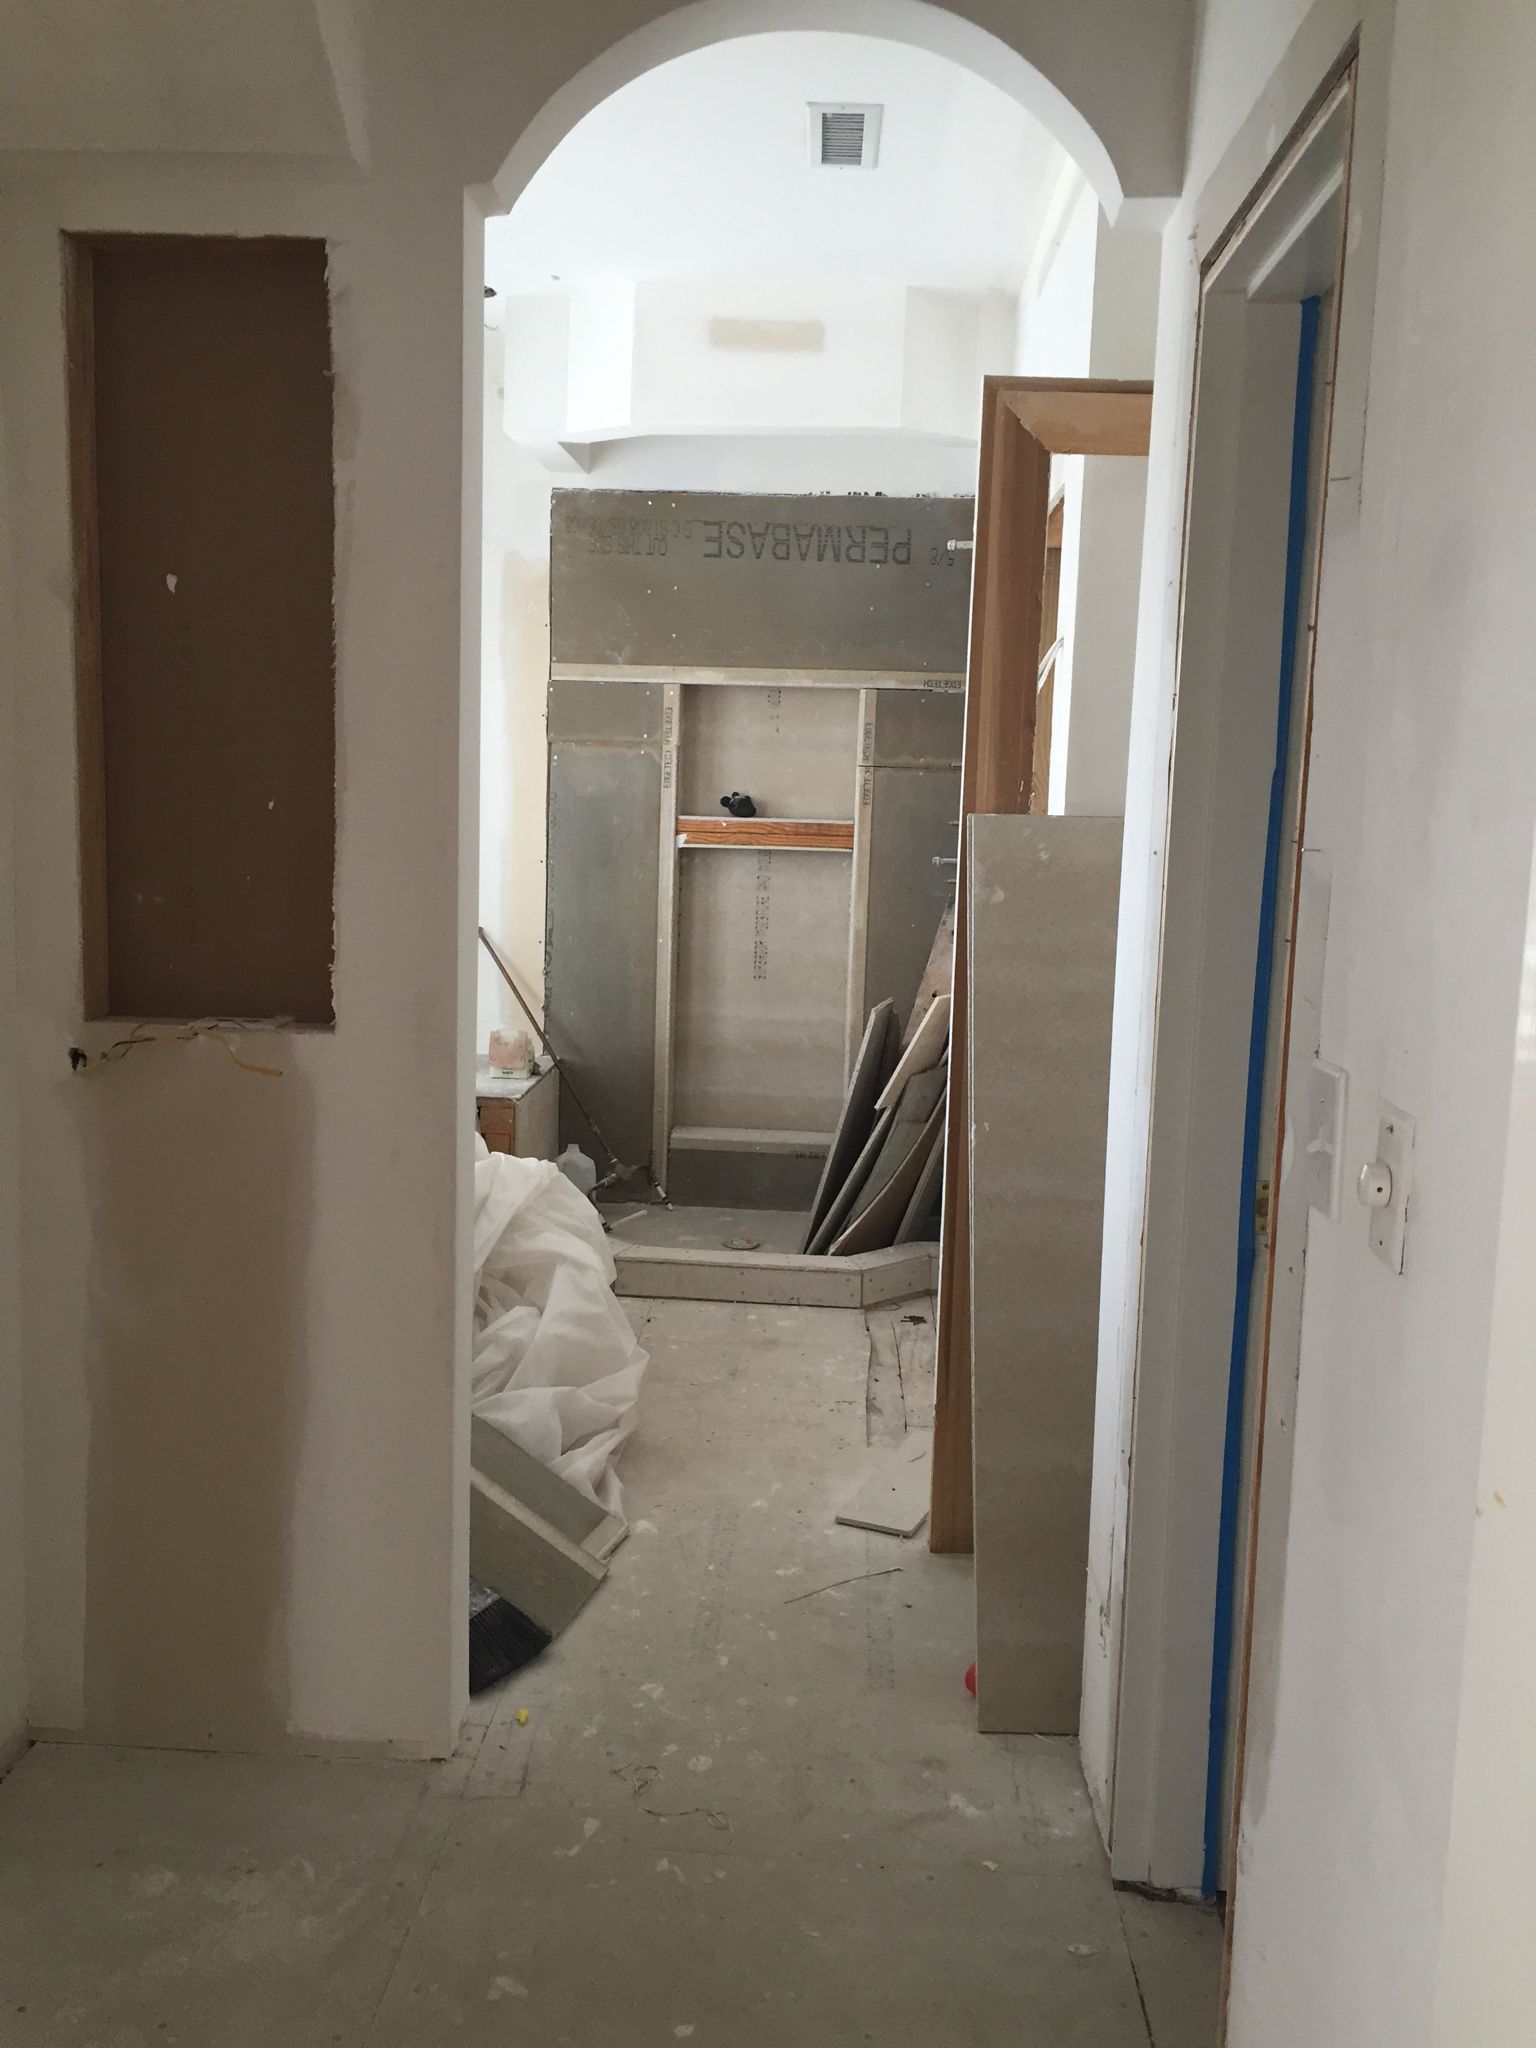
Before – Bathroom
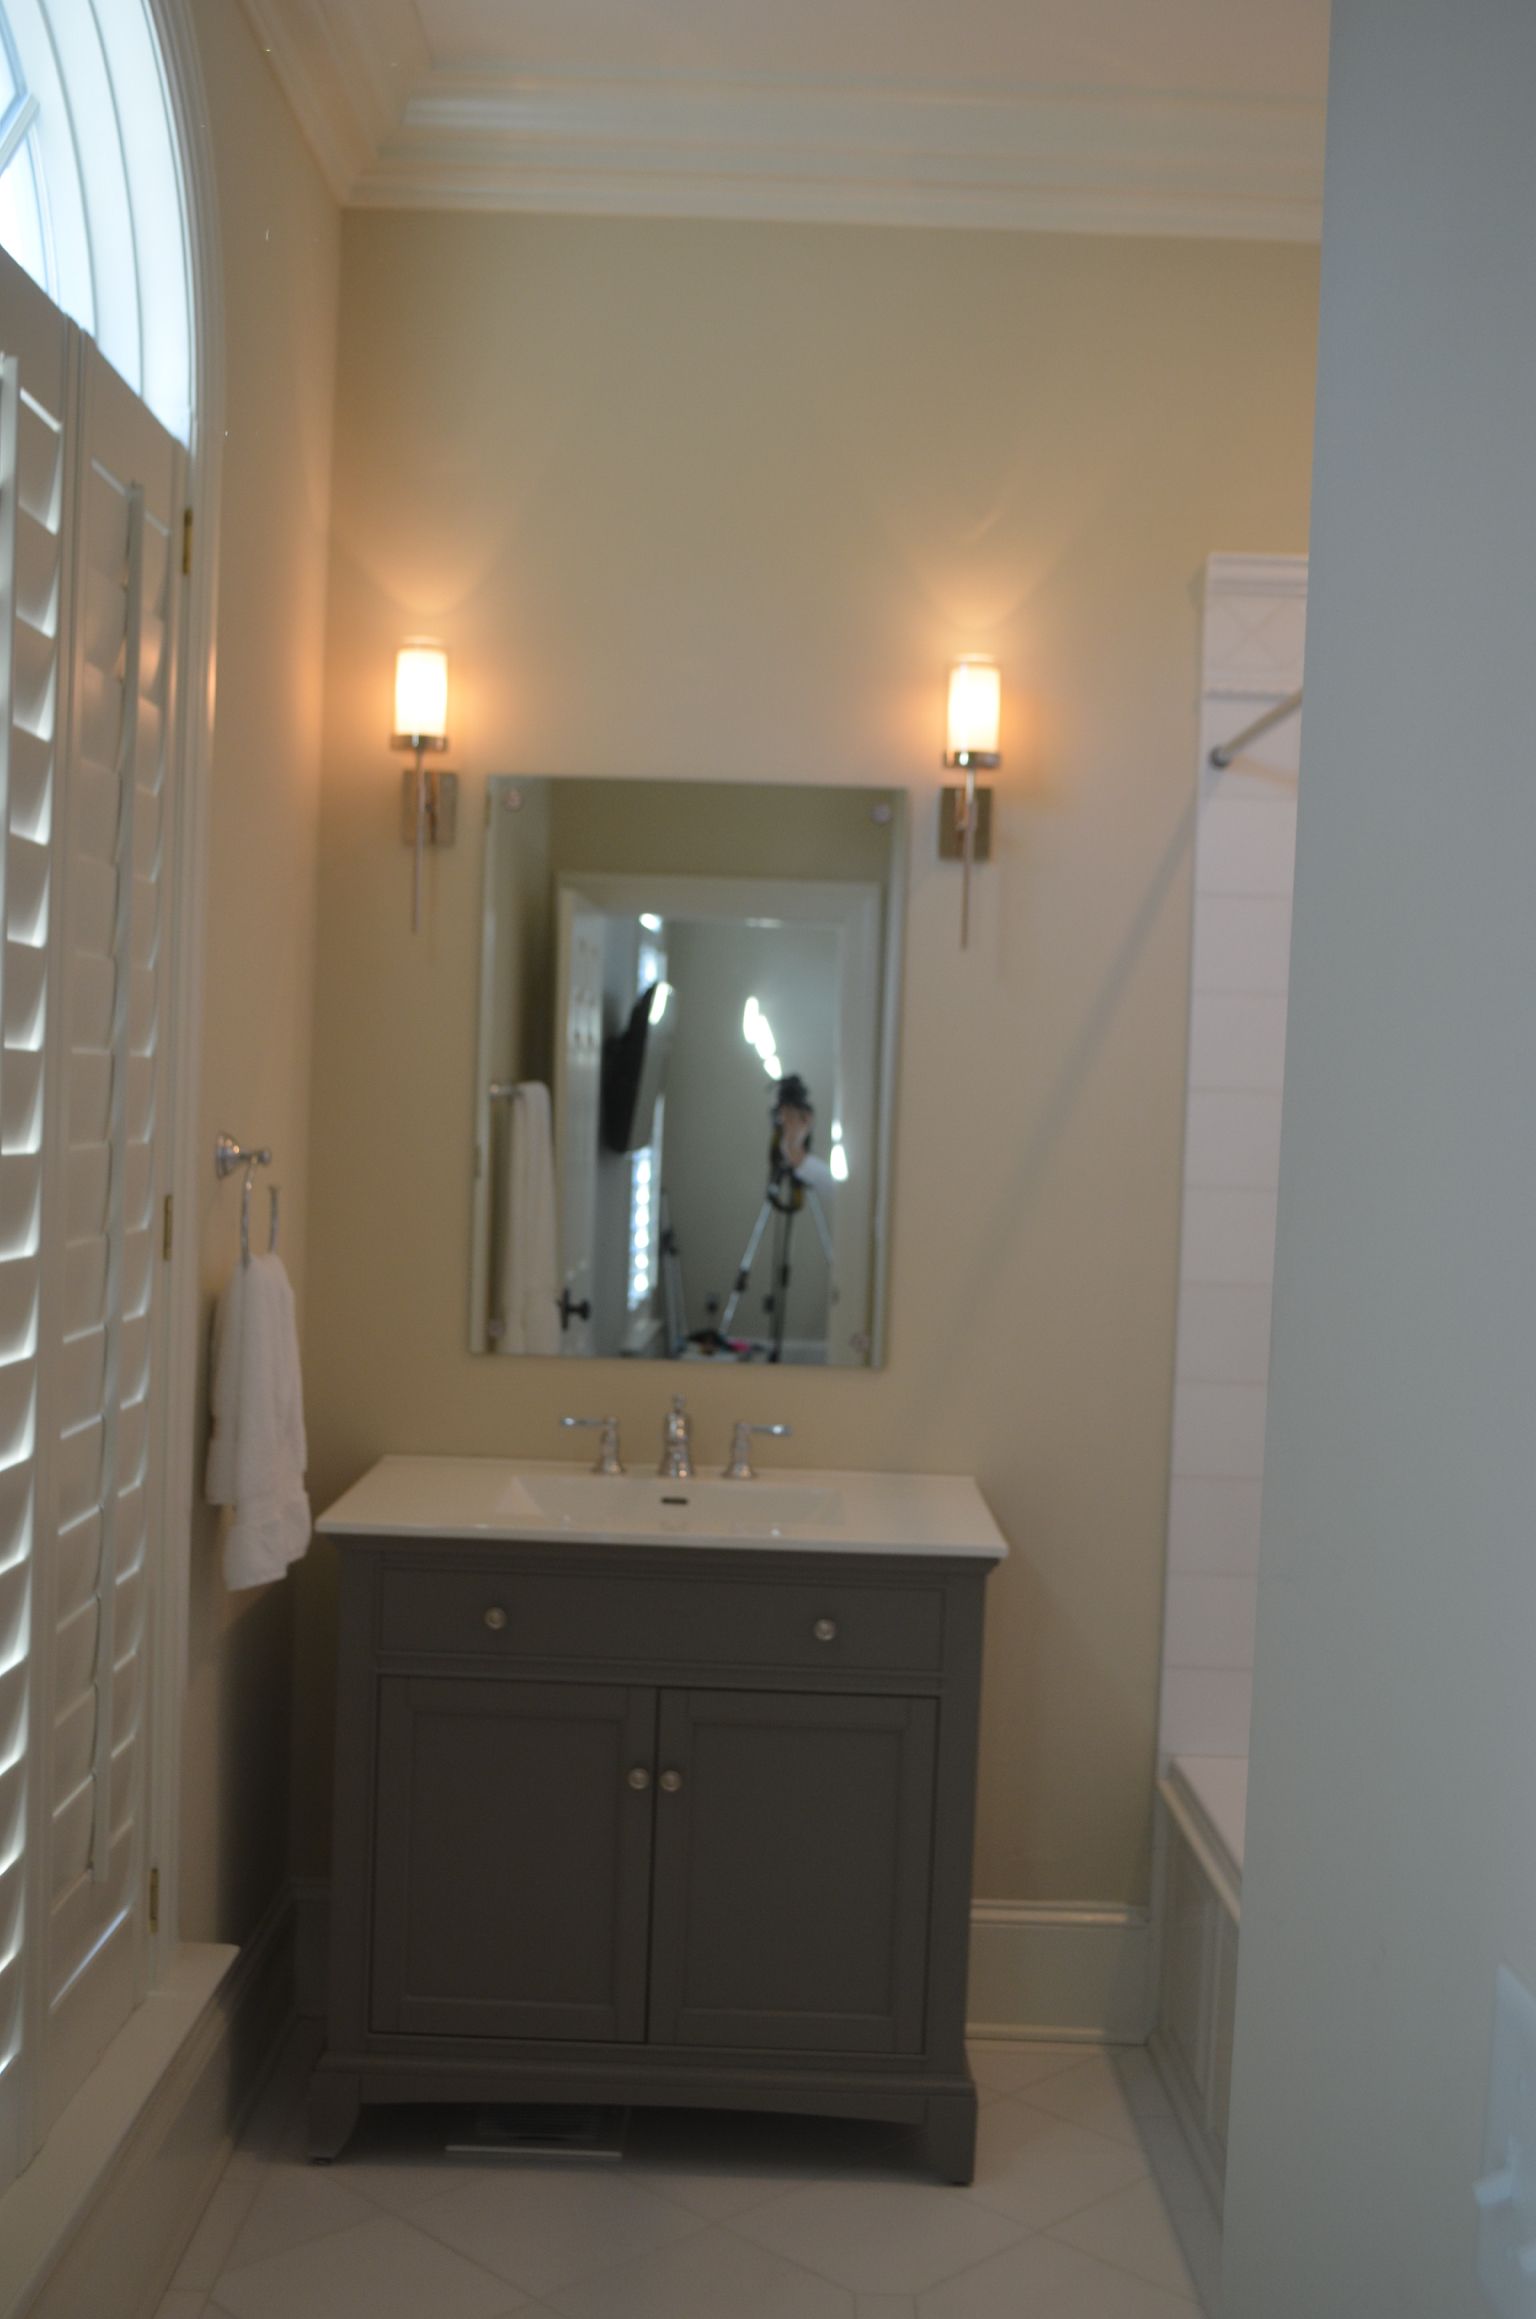
After – Bathroom
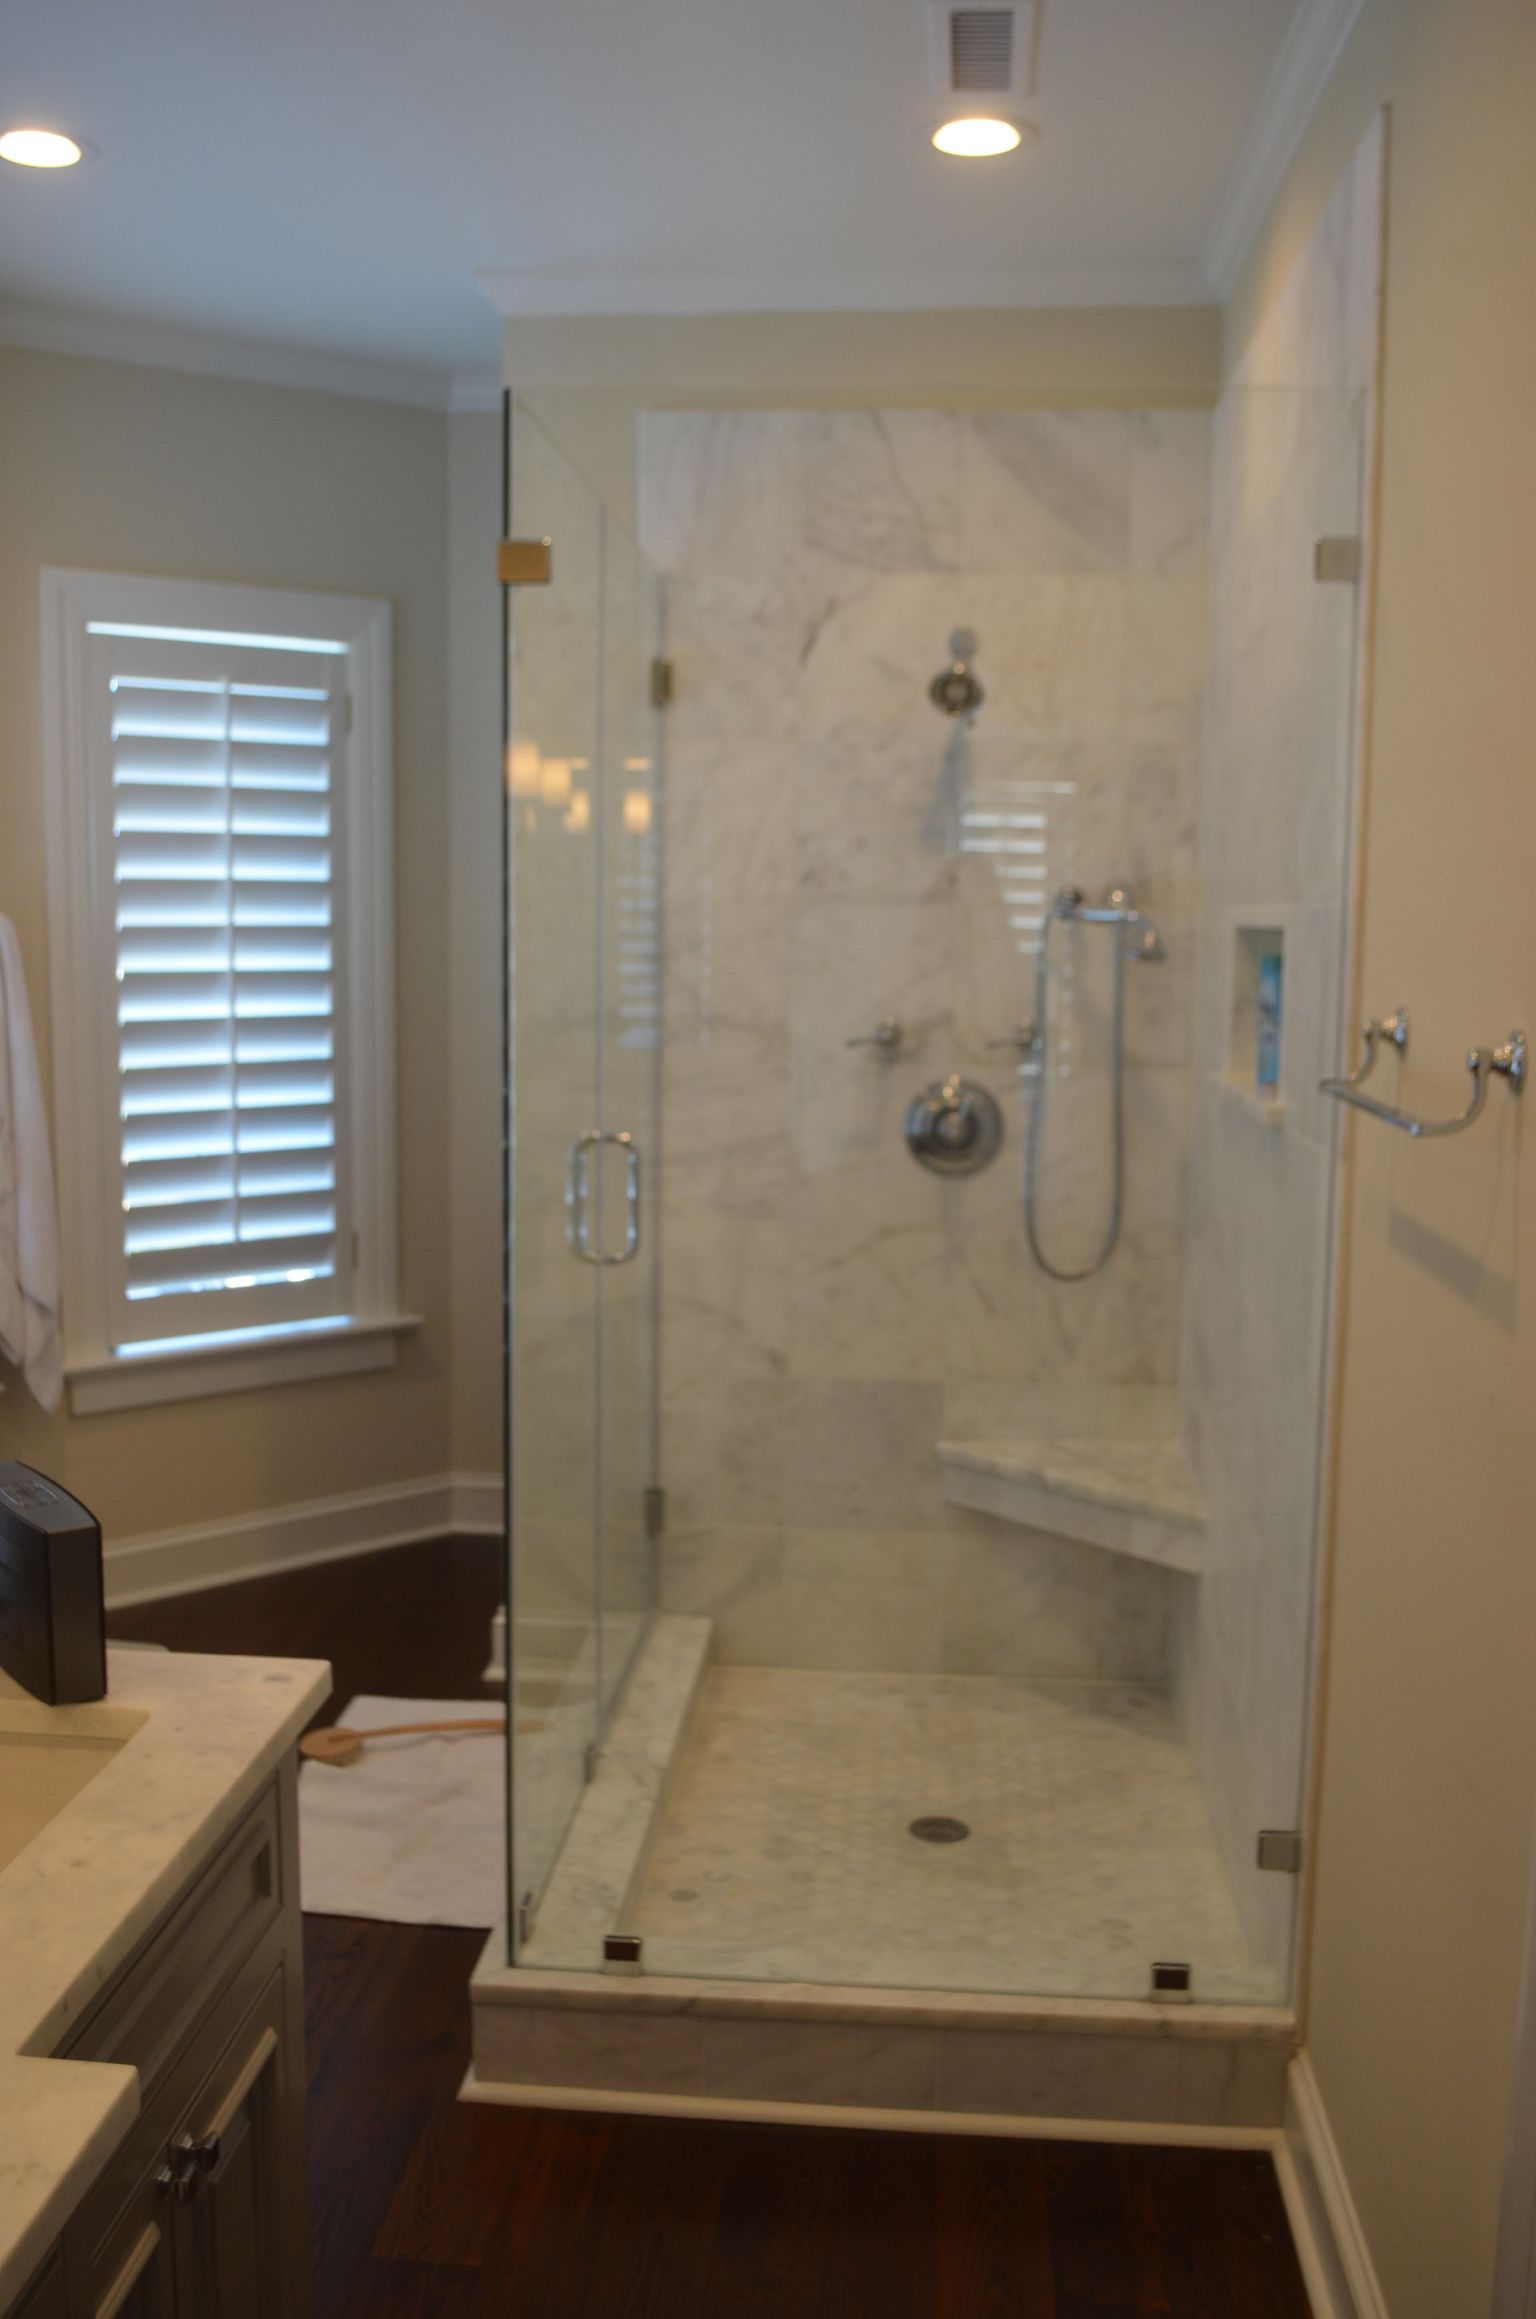
After – Bathroom
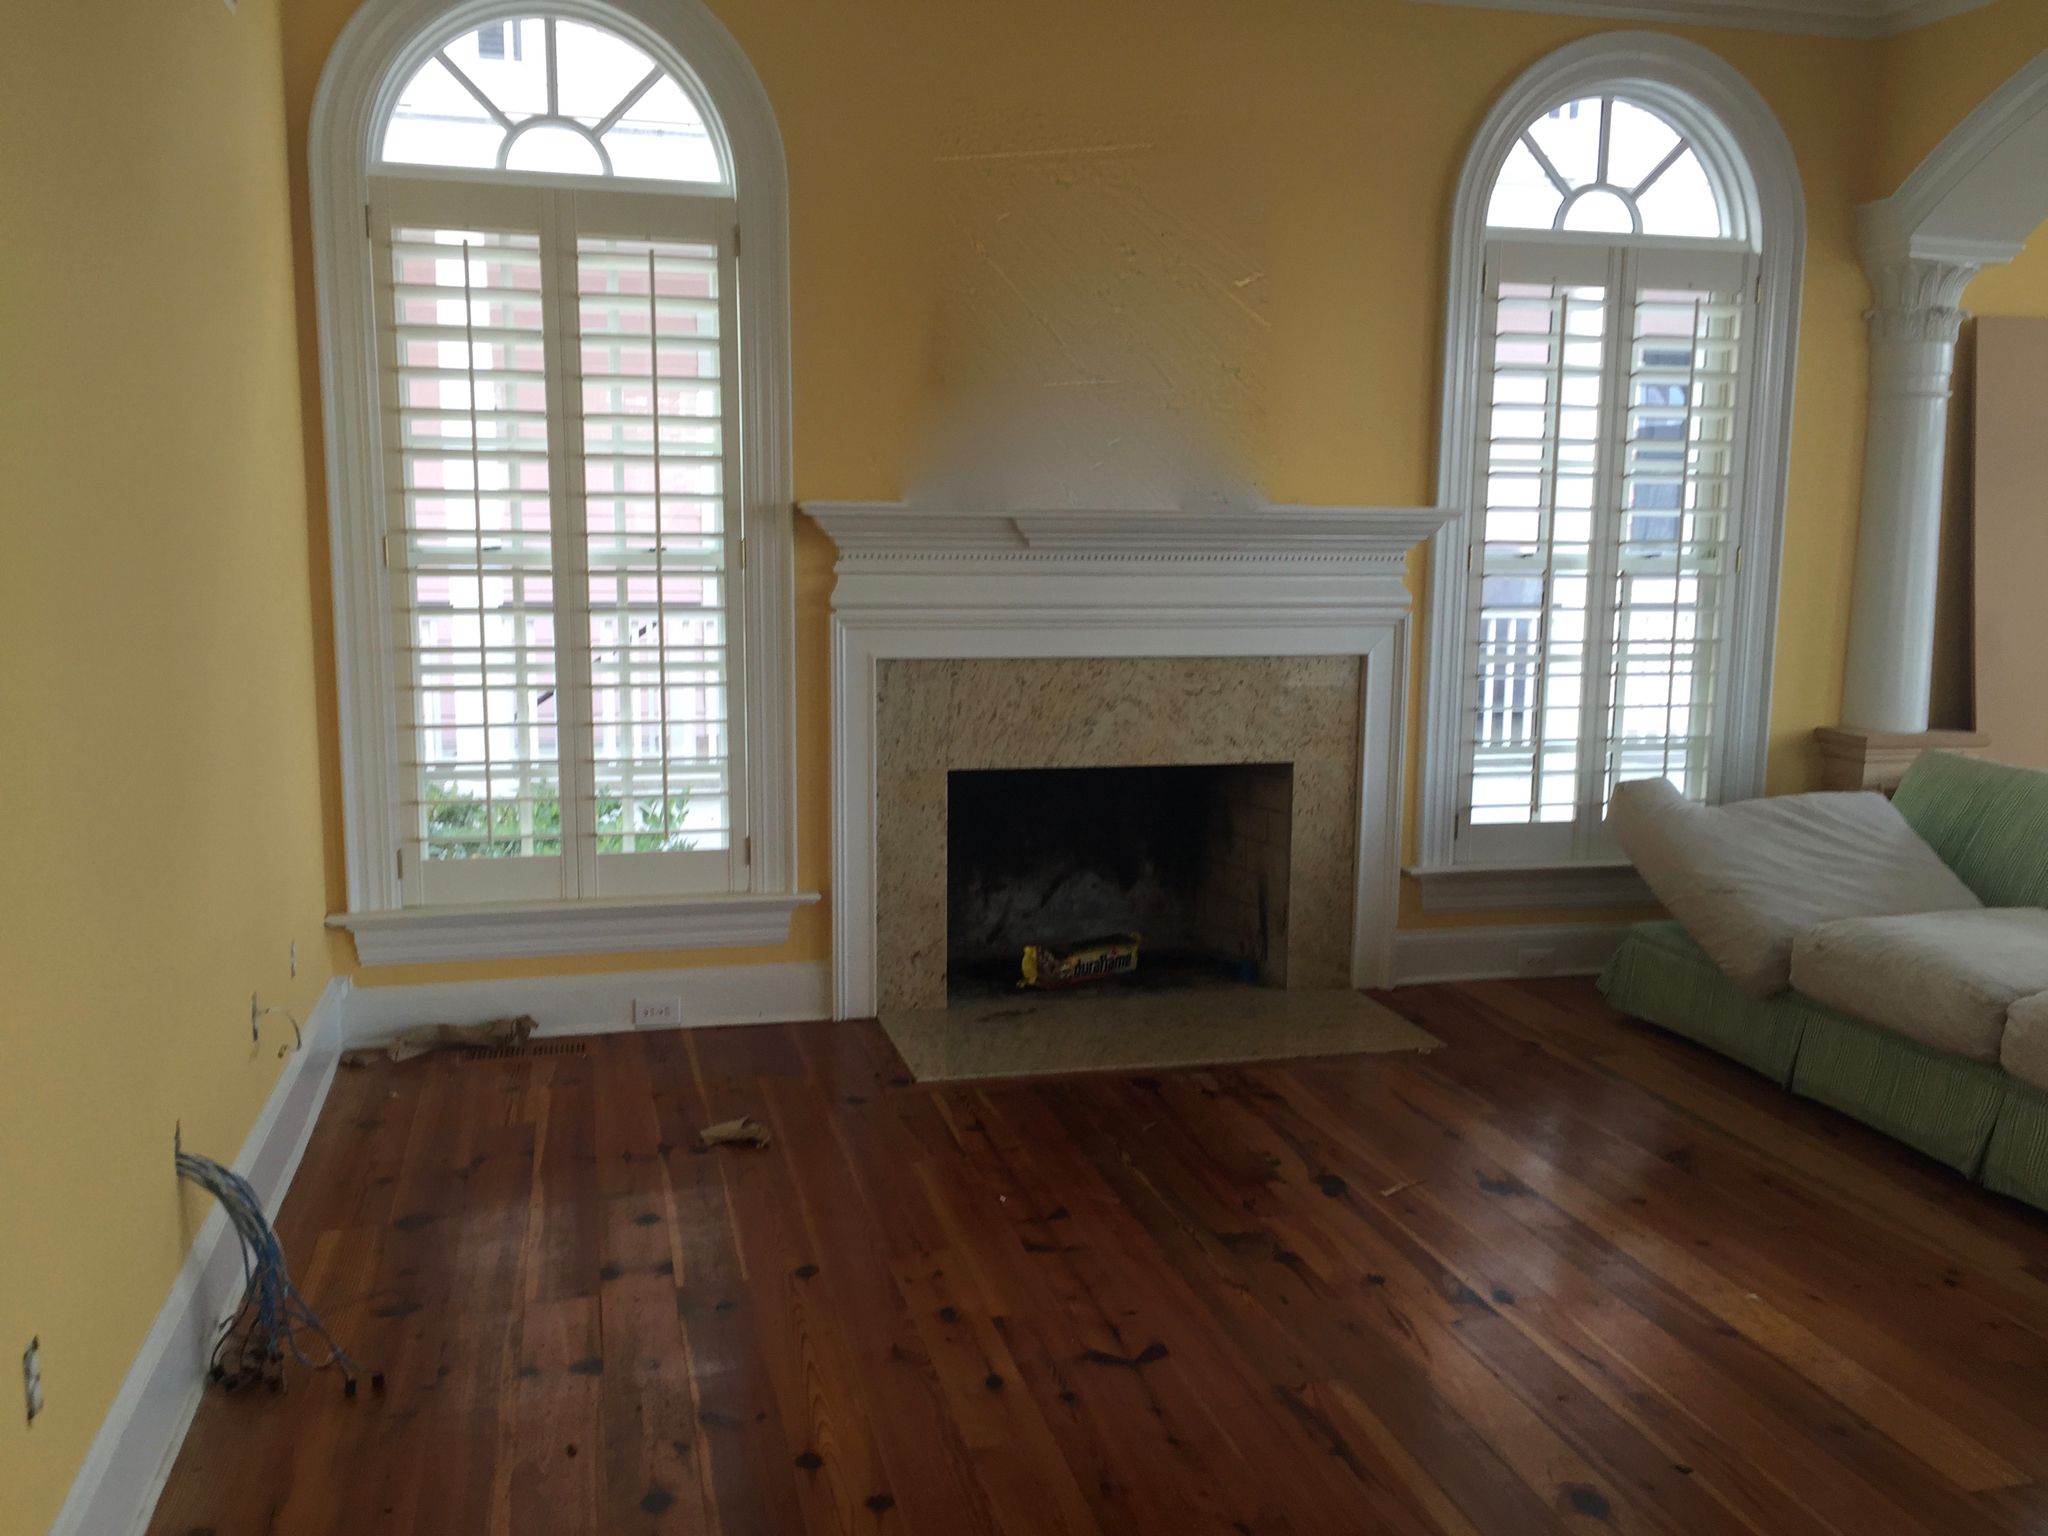
Living Room
As you can see from the pictures, when we first got the house, the living room needed some work as well. While it wasn’t in nearly as bad of shape as the kitchen or the bath, we immediately spotted some renovations we wanted to make. We loved the fireplace and thought it made an excellent addition to the room, so we decided to give it a makeover, too. We built a beautiful new mantle, made partly from pine, and removed the wood around the fireplace, replacing it with a brick bottom and brick face, made from gorgeous, old Charleston bricks. The house also had these lovely old wooden floors that we couldn’t bear to tear up, so we refinished them instead.
Before – Living Room
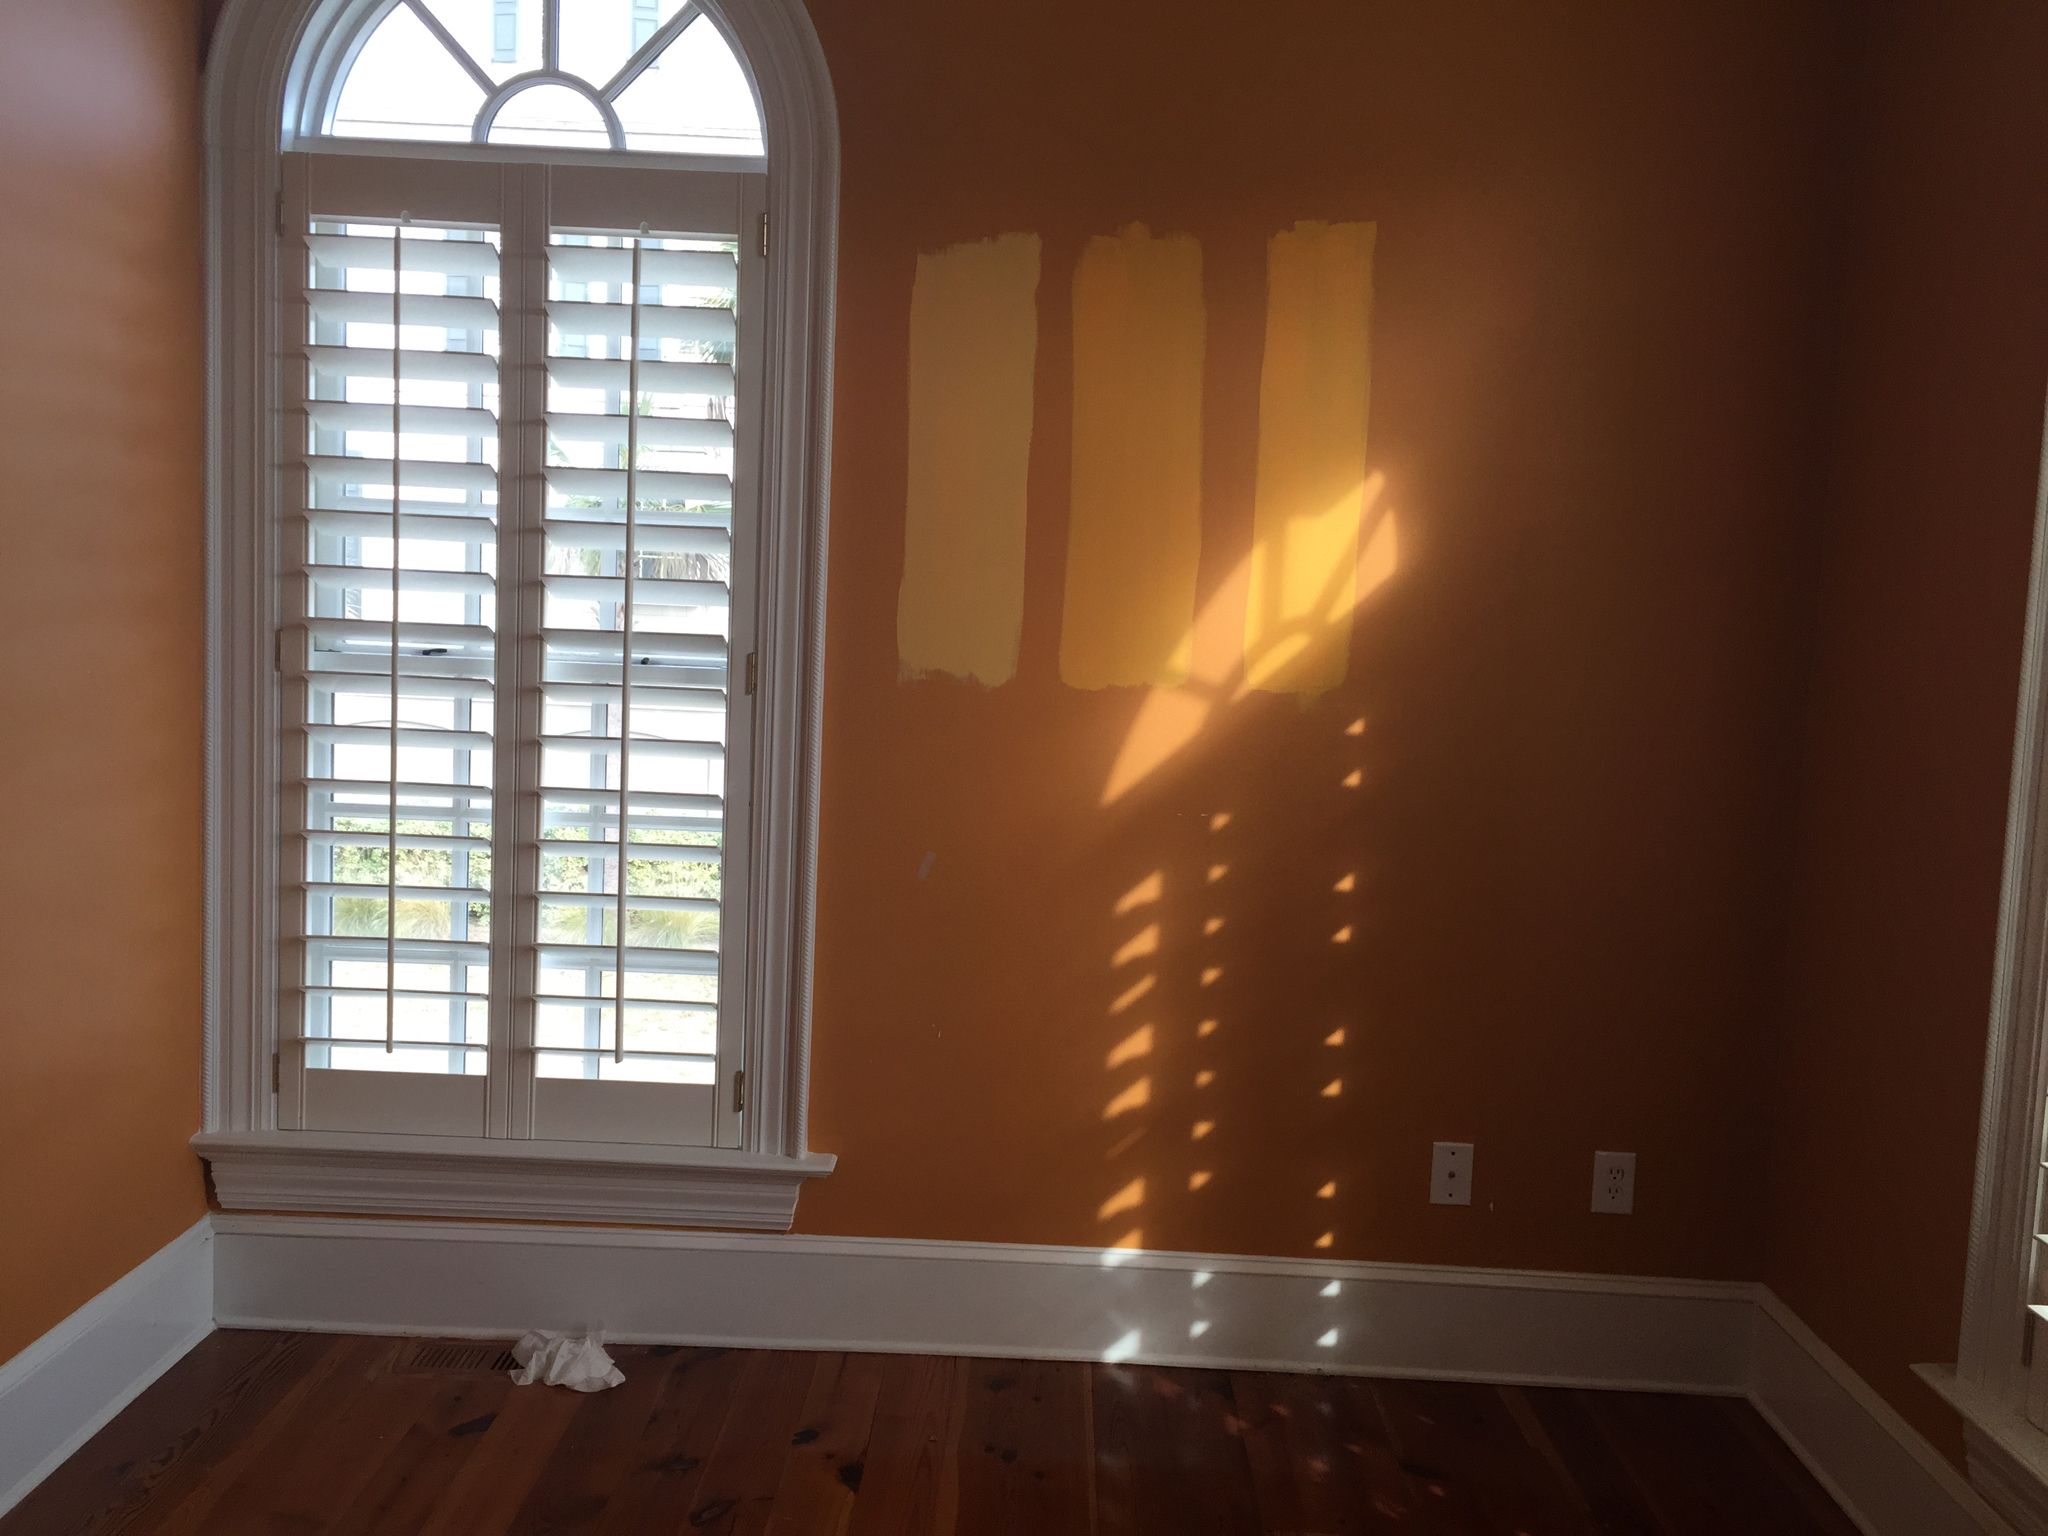
Before – Study

After – Living Room

After – Study
Altogether, this project ended up being a $300,000 renovation. While most of the money went to the bathroom and the kitchen — we replaced all the countertops with marble — the entire house got a facelift. It was built raised off the ground, so we redid the stairs heading into the home. We replaced light fixtures, redid staircases, and used shiplack for the walls in the stairwell and staircases to give it an extra touch. Since the house is so close to the coast, we also made sure to reseal and recaulk the entire exterior of the house to keep it sealed against the weather, water, and sand.
This project ended up turning out beautifully, a stark contrast to the condition we received it in. My favorite part of the house-flipping process is getting to see what a house looks like and then turning it into a thing of beauty, and this project definitely didn’t disappoint.